Layering Up: How to Dress for The Cold-Weather
Learn the three-layer clothing system for hiking and backpacking. Discover the best base layers, insulation, and waterproof shells for cold weather.
The essential guide to staying warm, dry, and comfortable while hiking, backpacking, and exploring the outdoors.
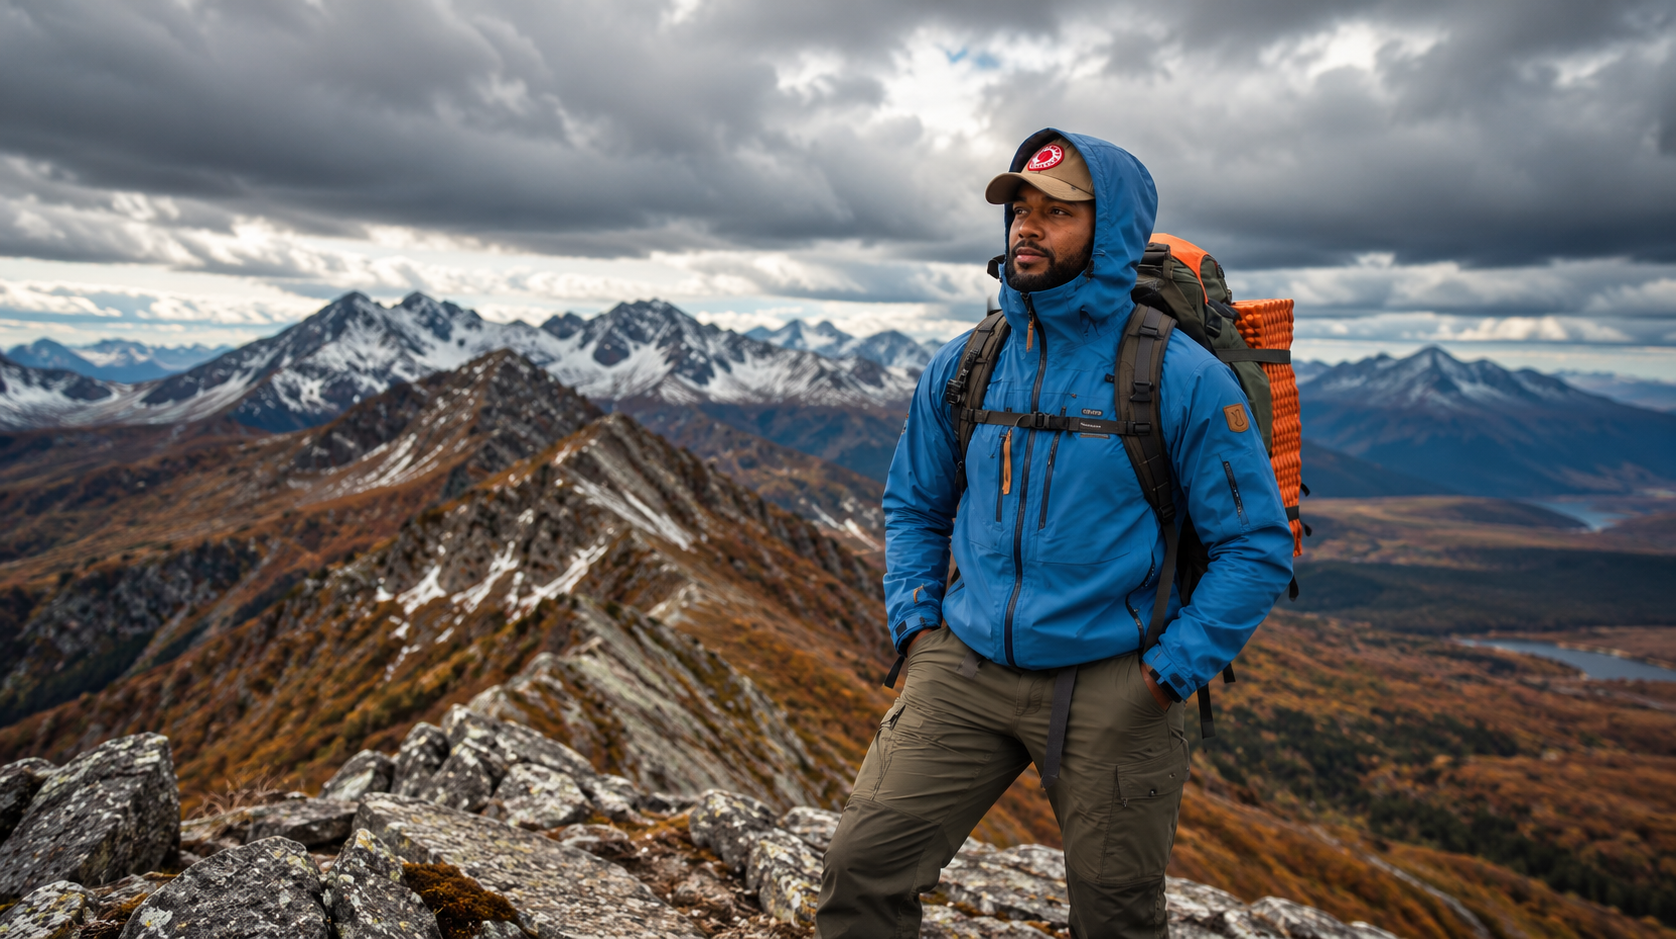
When heading into the backcountry, the weather can change in a matter of minutes. A sunny morning can quickly turn into a cold, windy afternoon, and a comfortable hike can become miserable if you're not dressed appropriately. Whether you're backpacking through the mountains, camping in the wilderness, or exploring a national park, knowing how to layer your clothing is an essential outdoor skill.
The secret to staying comfortable outdoors isn't necessarily wearing the thickest jacket you own. Instead, it's understanding how to combine different clothing layers to regulate body temperature, manage moisture, and protect yourself from the elements.
In this guide, we'll break down the fundamentals of the three-layer clothing system, explain the materials that work best, and share practical tips for staying comfortable during your next adventure.
Understanding the 3-Layer System
The layering system consists of three primary components: a base layer, an insulating mid-layer, and a protective outer layer. Each serves a specific purpose, and together they create a versatile clothing system that can adapt to changing weather conditions.
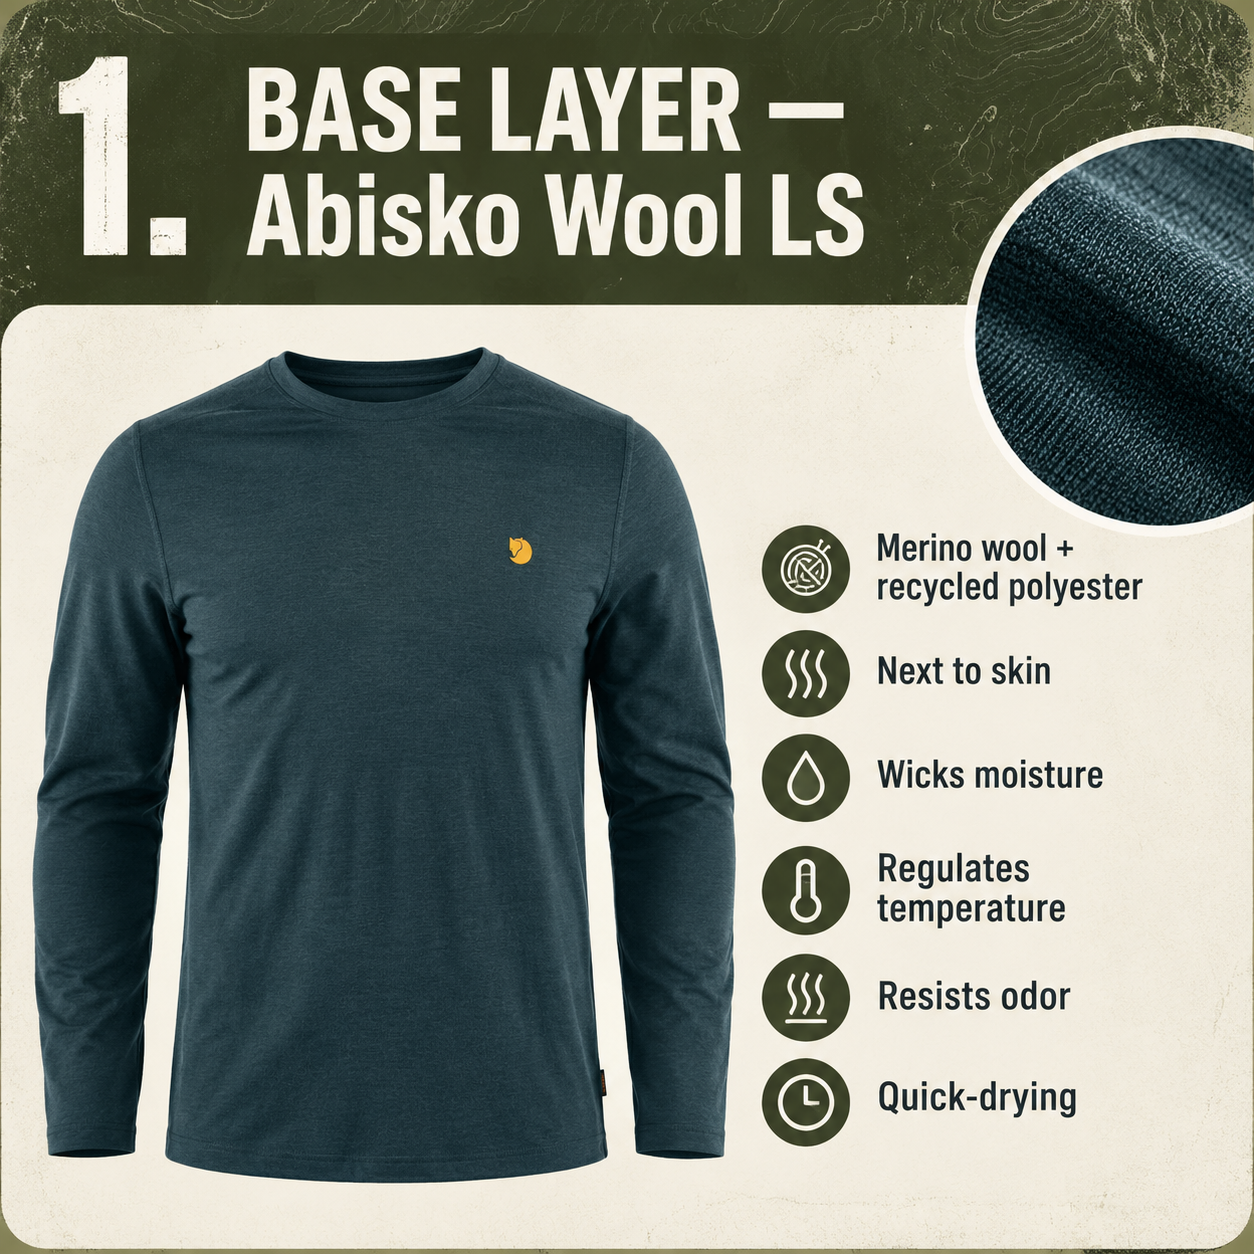
1. Base Layer — Moisture Management
The base layer sits directly against your skin and plays an important role in managing moisture. While hiking, your body generates heat and produces sweat, even in cold temperatures.
If that moisture remains trapped against your skin, it can accelerate heat loss when you slow down or stop moving.
A good base layer helps transport moisture away from your skin so it can evaporate or move into the next clothing layer.
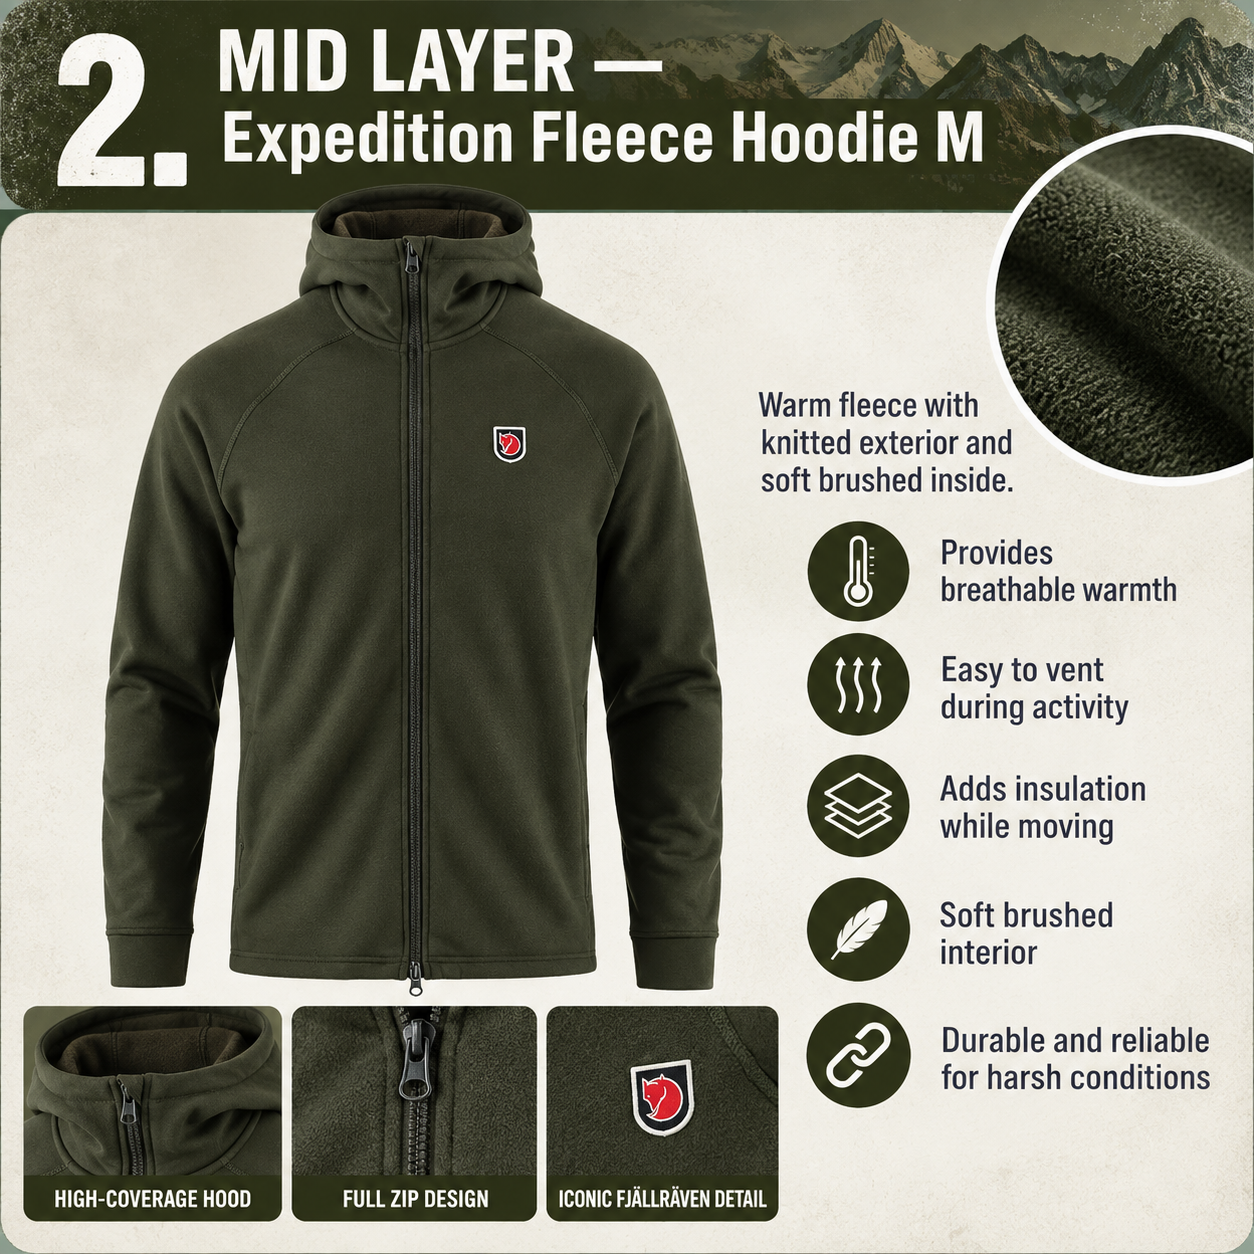
2. Mid-Layer — Insulation
The purpose of the mid-layer is to retain body heat by trapping air within its fibers or insulation. Depending on the temperature and your activity level, this layer might be a lightweight fleece, a synthetic insulated jacket, or a down jacket.
For strenuous hiking, a lightweight fleece is often an excellent choice because it provides moderate insulation while allowing excess heat to escape.
Down jackets, on the other hand, are particularly useful when you stop moving. They offer substantial warmth without taking up much space in your backpack.
Backcountry tip: Keep an insulated jacket easily accessible in your pack. When you stop for lunch or reach camp, put it on before your body begins cooling down.

3. Outer Layer — Weather Protection
Your outer layer, sometimes called a shell, protects you from environmental conditions such as wind, rain, and snow.
Even with excellent insulation, strong winds can remove heat from your body, while rain can saturate clothing and reduce its insulating performance.
Although waterproof-breathable fabrics allow some moisture vapor to escape, they cannot eliminate sweating. During strenuous activity, opening ventilation zippers or reducing insulation may be necessary to prevent overheating.
How to Layer for Different Weather Conditions
One of the most important aspects of layering is understanding that your clothing system should change depending on the environment.
The following examples are starting points rather than strict rules. Wind, precipitation, sun exposure, and your personal tolerance for cold can all influence what you need.
Conditions Suggested layering
Mild and cool (45–60°F) Lightweight base layer; wind shell if needed
Chilly (35–45°F) Base layer + fleece; shell as conditions require
Cold (20–35°F) Warmer base layer + insulating mid-layer + weather shell
Below 20°F Cold-weather base layers + substantial insulation + protective shell, with additional insulation for rest stops
These examples assume you are actively hiking. Standing around camp, photographing wildlife, or sitting during a lunch break generally requires more insulation than walking uphill with a loaded backpack.
Extremely cold environments may require additional layers and specialized equipment.
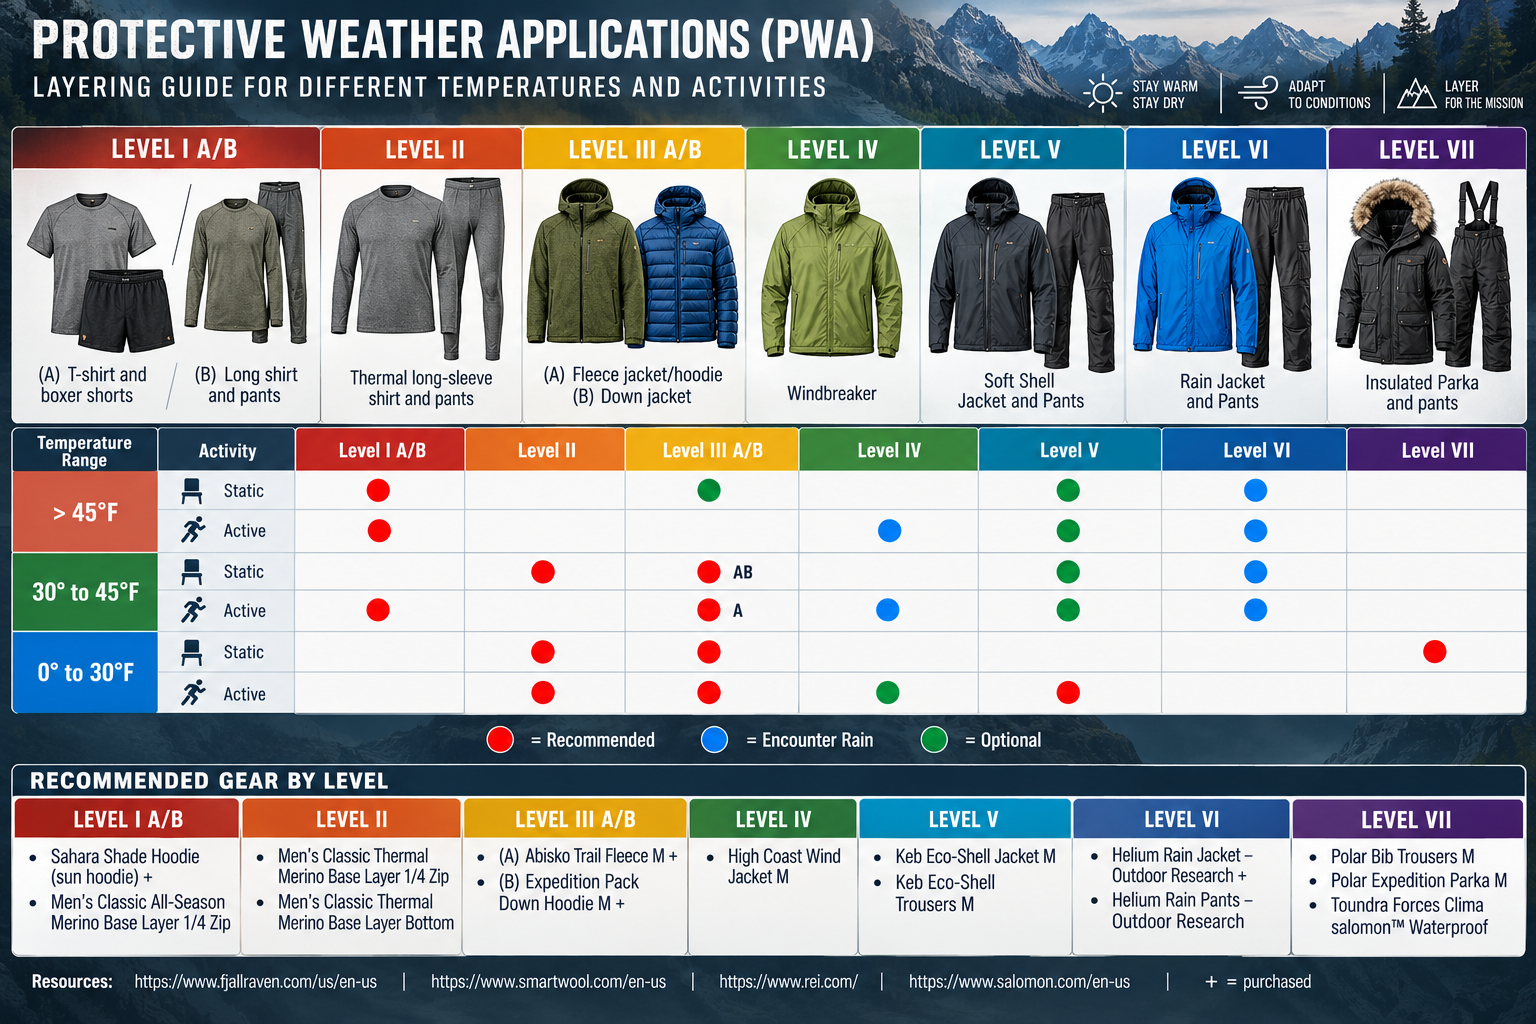
Protective Weather Applications (PWA)
This chart is a refence point created to help plan for the weather and cold.
Avoiding the Most Common Layering Mistakes
Avoid cotton: Cotton holds moisture and dries slowly, increasing the risk of chilling in cold conditions.
-
Even experienced hikers can make mistakes when dressing for cold weather. One of the most common is wearing too much clothing at the beginning of a hike.
When you first step onto the trail, you may feel chilly. However, as your muscles begin working, your body generates additional heat.
If you're wearing too many layers, you can quickly begin sweating. Once you stop moving, that moisture may cause you to cool down rapidly.
-
Even the best layering system requires adjustments to release excess heat.
-
Having dry socks and an insulating layer can make a major difference after a long day in wet conditions.
-
Wearing layers that are too tight can reduce the air space that provides warmth.
-
A warm jacket won't compensate for inadequate gloves, socks, or head protection.
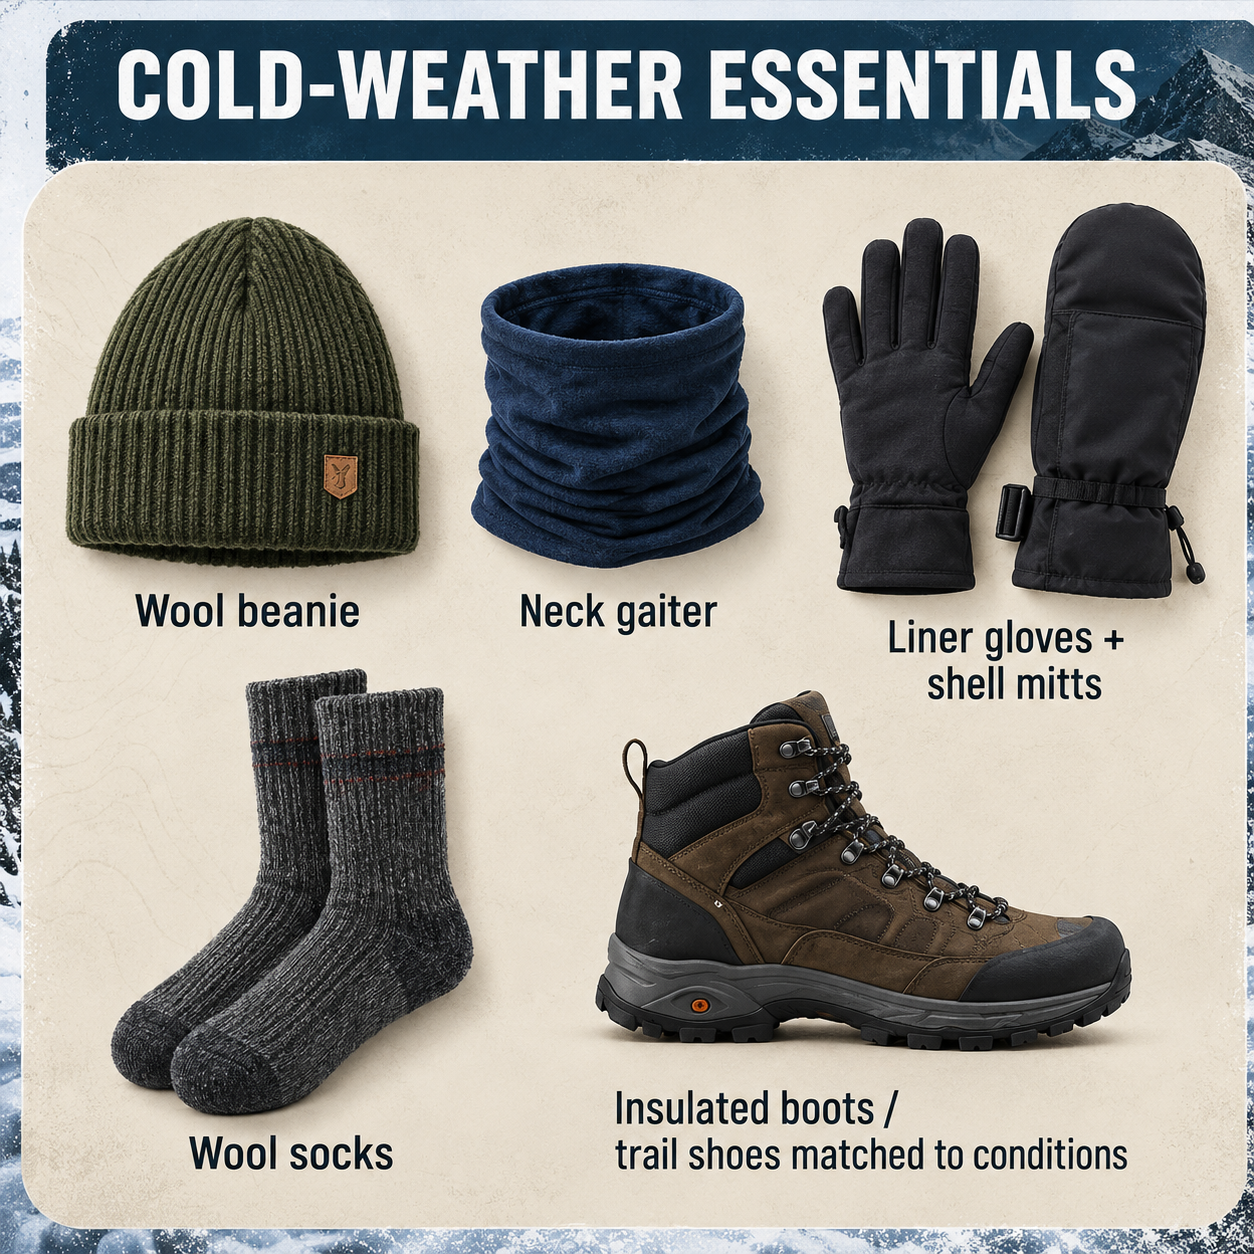
Don't Forget Your Hands, Feet, and Head.
While most discussions about layering focus on jackets and shirts, protecting your extremities is equally important.
For your hands, consider lightweight liner gloves combined with insulated or waterproof gloves depending on the conditions.
For your feet, moisture-wicking wool or synthetic socks are excellent options. Make sure your boots provide enough room for your toes to move, since overly tight footwear can restrict circulation and contribute to cold feet.
A warm beanie or insulated hood helps reduce heat loss from your head, especially when you're exposed to wind.
In freezing temperatures, pay attention to early signs of frostbite, including numbness, unusual skin color, or hard, waxy skin. Seek shelter and appropriate care if these symptoms develop.
Before heading into the backcountry, review the weather forecast and consider how conditions might change throughout the day.
A hike that begins in a sheltered forest could eventually lead to an exposed mountain ridge where wind speeds are much higher. Likewise, a warm afternoon can quickly transition into a cold evening once the sun sets. Pack your clothing with accessibility in mind. Your rain shell and extra insulation should be easy to retrieve without unpacking your entire backpack.
As you hike, regularly assess how your body feels. If you're beginning to sweat, remove a layer or open your jacket's ventilation. If you're slowing down or preparing to stop, add insulation before becoming chilled. Remember that layering isn't about wearing all three layers at once. It's about having the right clothing available and knowing when to use it.
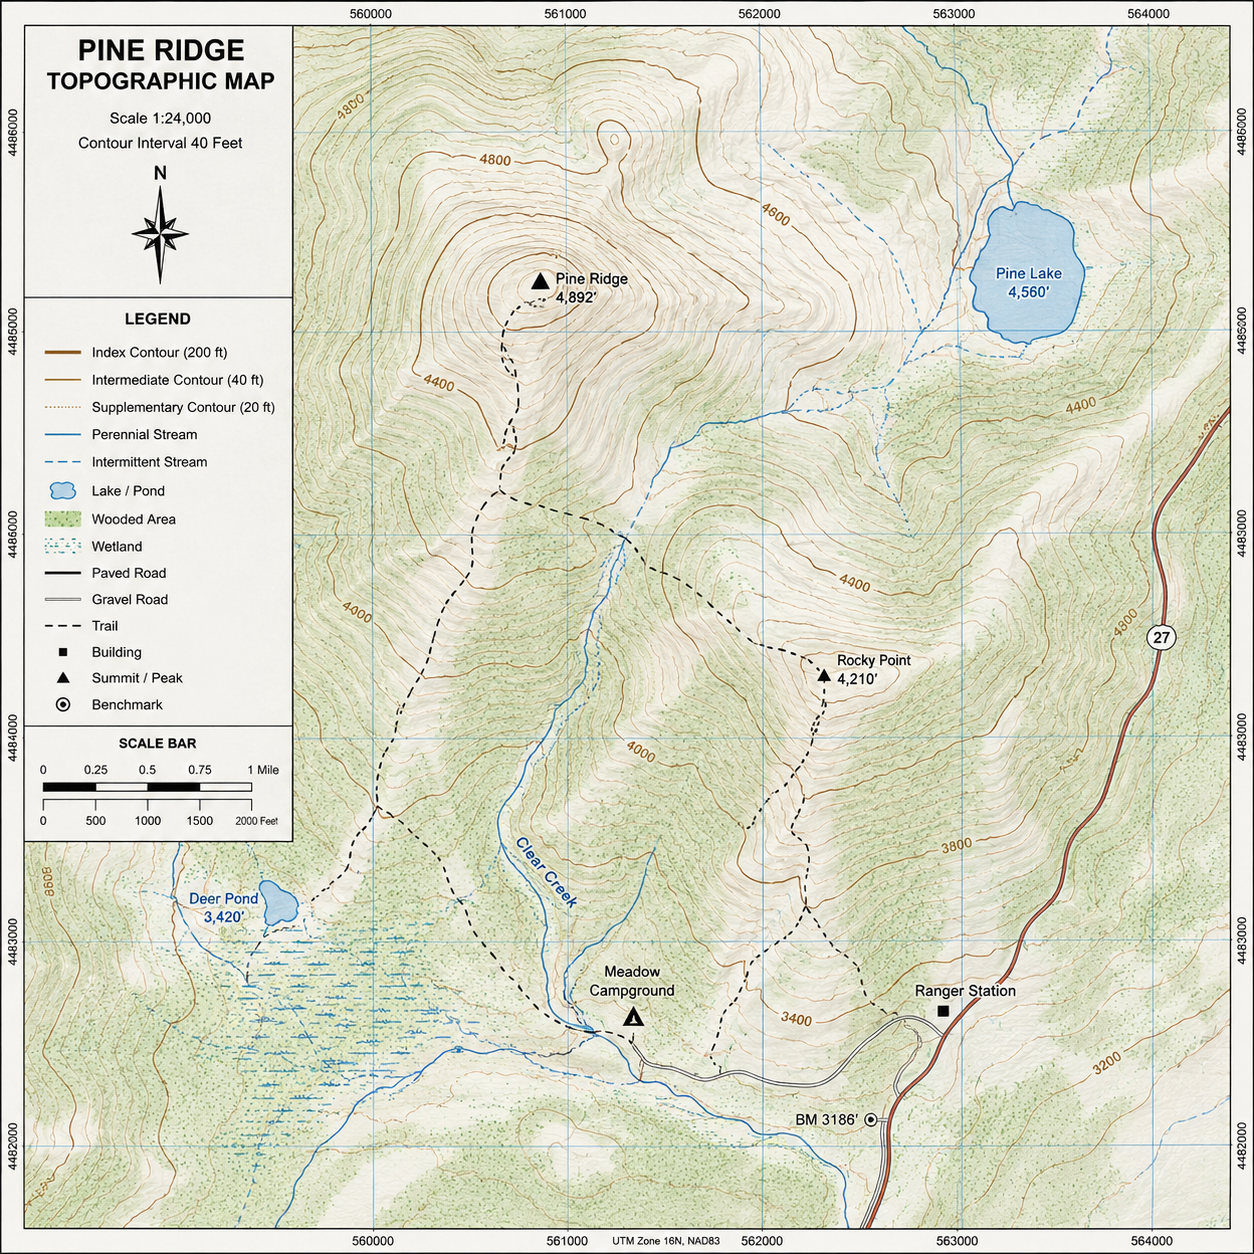
How to Read a Topographic Map
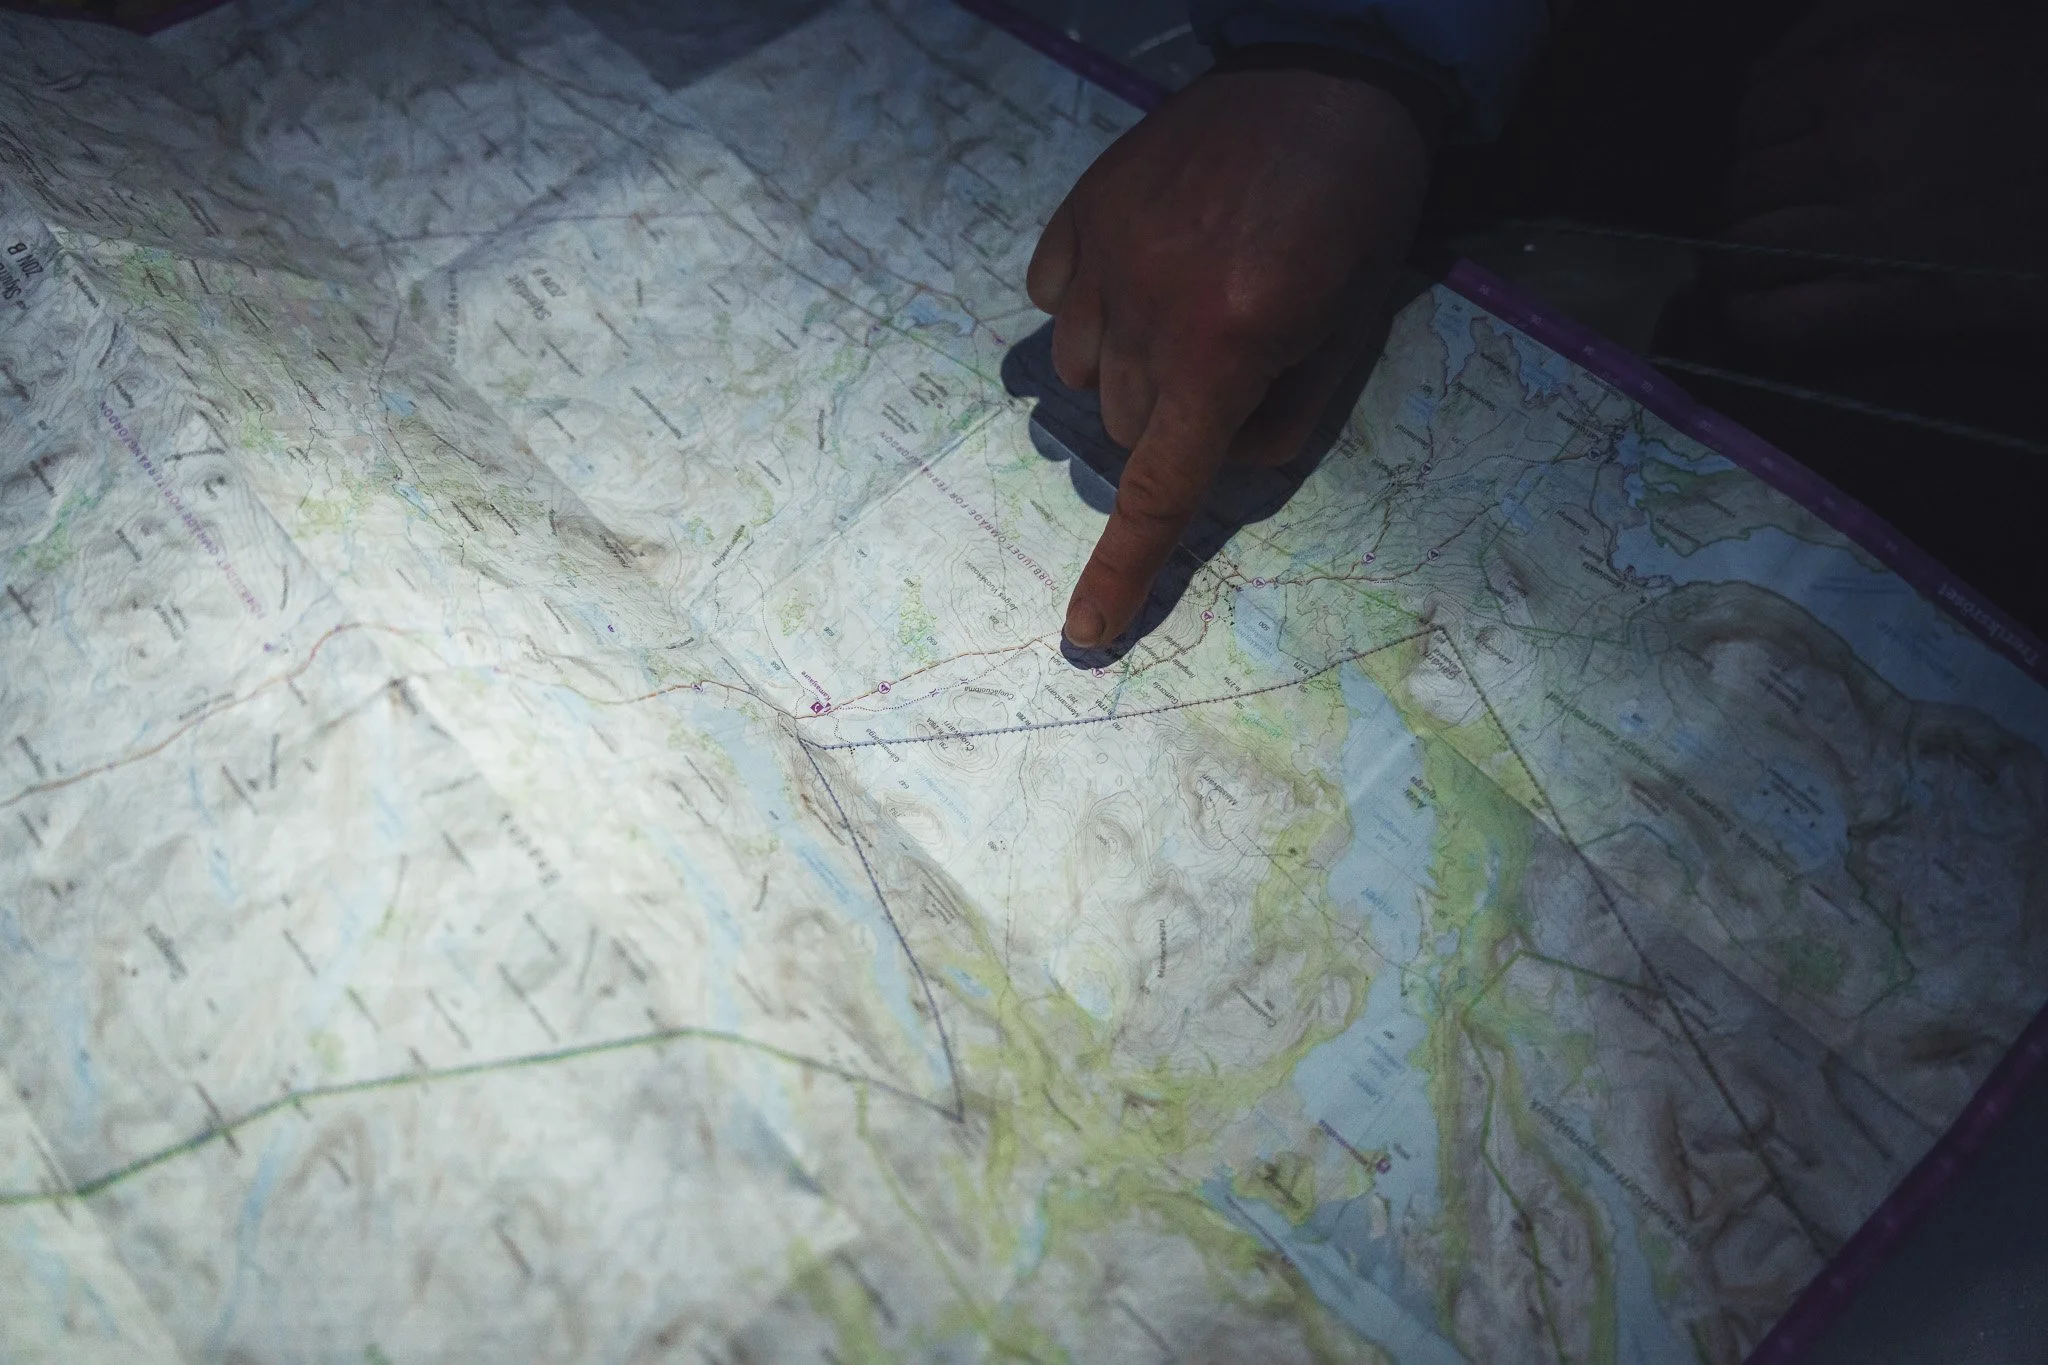
In today's world of GPS devices and smartphone navigation apps, many outdoor enthusiasts overlook one of the most valuable wilderness skills—reading a topographic map. Batteries die, signals disappear, and electronics can fail when you need them most. Knowing how to interpret a topographic map gives you confidence, improves your navigation skills, and helps you make safer decisions in the back country.
Whether you're hiking, backpacking, hunting, or camping, understanding a topo map is an essential outdoor skill.
What Is a Topographic Map?
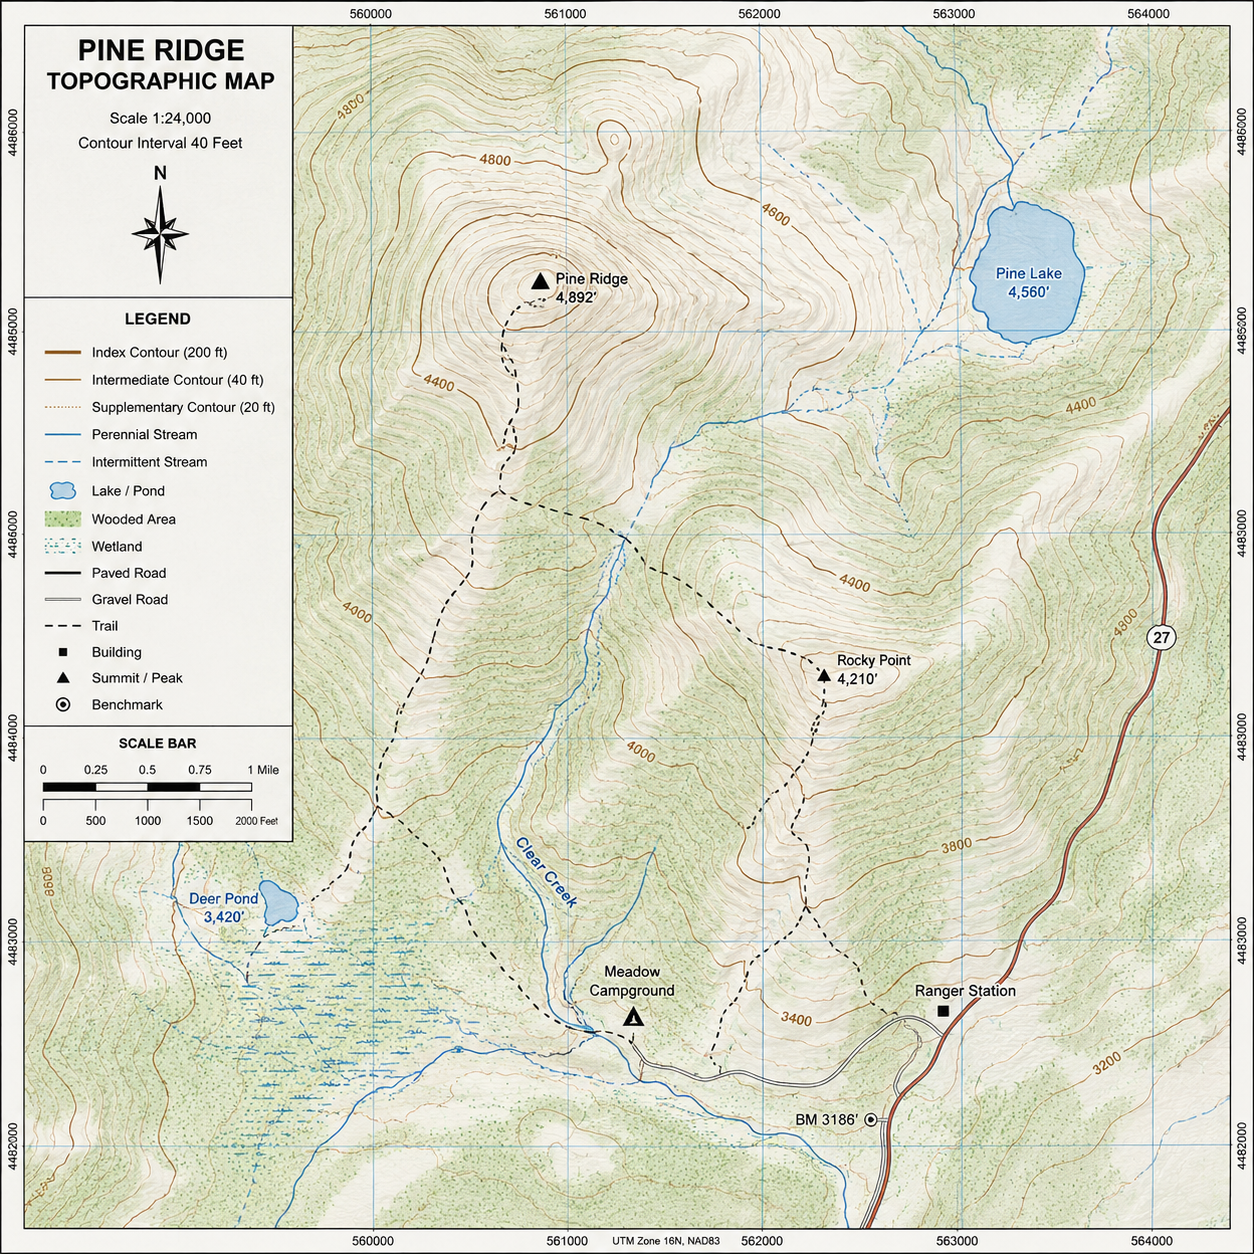
The Map
A topographic map is a detailed representation of the terrain. Unlike a standard road map, it shows the shape and elevation of the land using contour lines, along with natural and man-made features such as rivers, lakes, trails, roads, campsites, and peaks.
These maps allow you to visualize the landscape before you ever set foot on the trail.
lines, lines, lines!
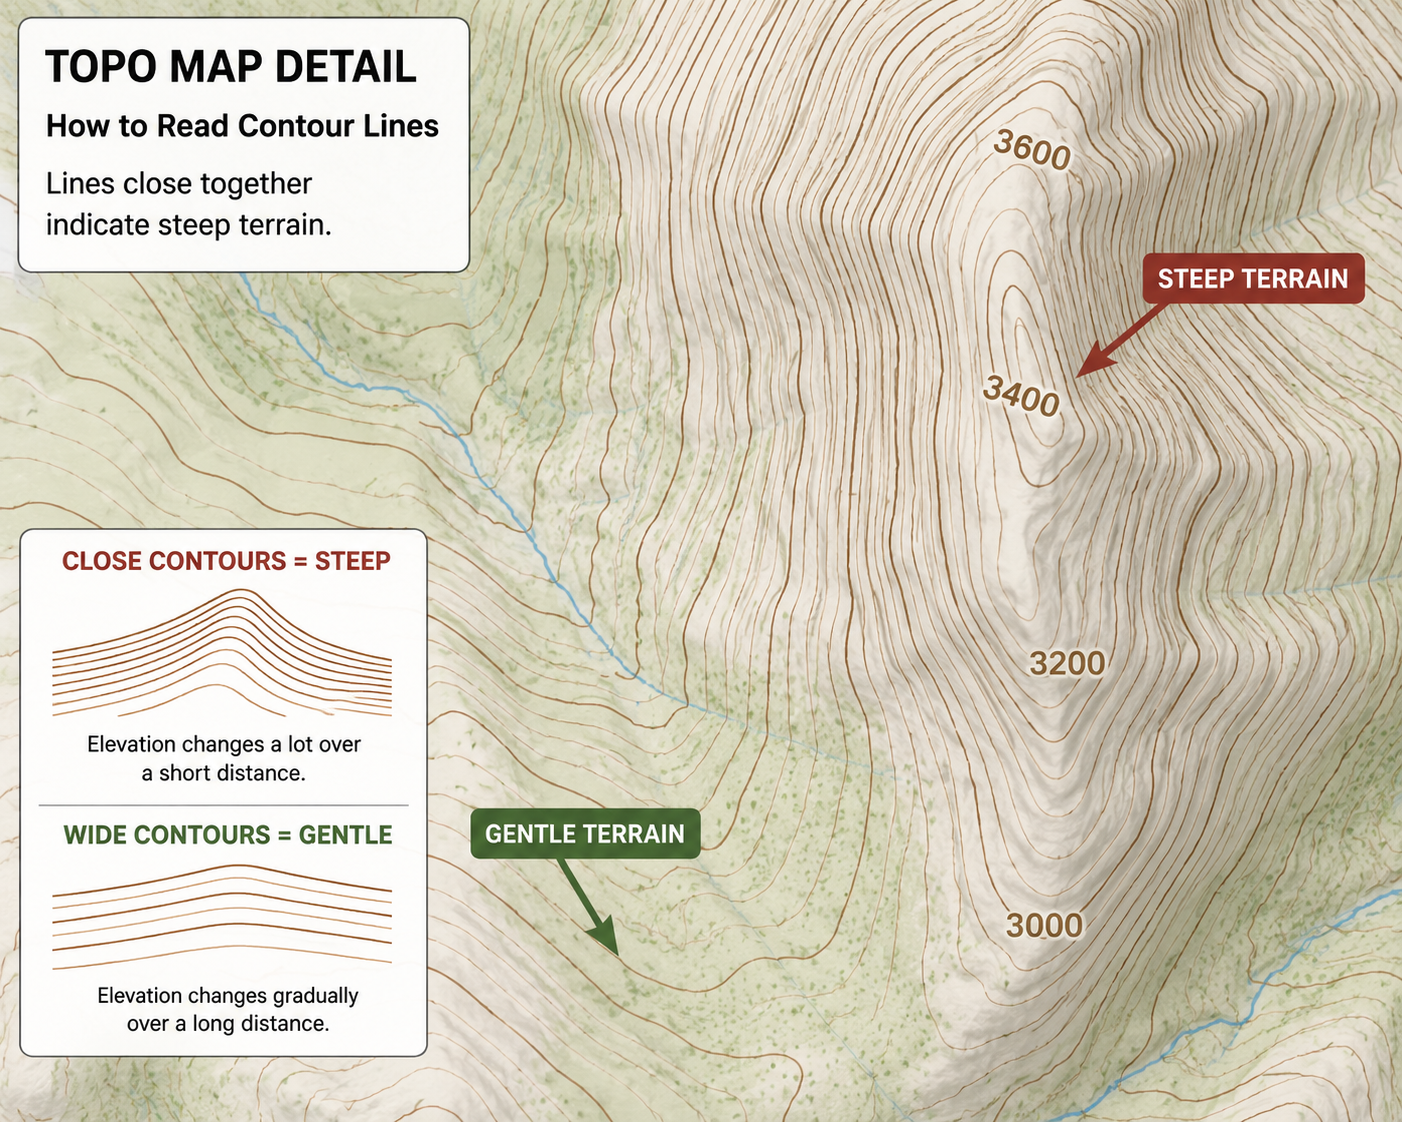
Understanding Contour Lines
Contour lines are the foundation of every topographic map. Each line connects points of equal elevation.
Here are the basics:
Lines close together indicate steep terrain.
Lines spaced far apart represent gentle slopes or flat ground.
Closed circles often indicate hills or mountain summits.
V-shaped contours usually point upstream when crossing rivers or valleys.
The elevation difference between contour lines is called the contour interval, which is listed in the map legend. For example, a 40-foot contour interval means each line represents a 40-foot change in elevation.
What are those symbols?
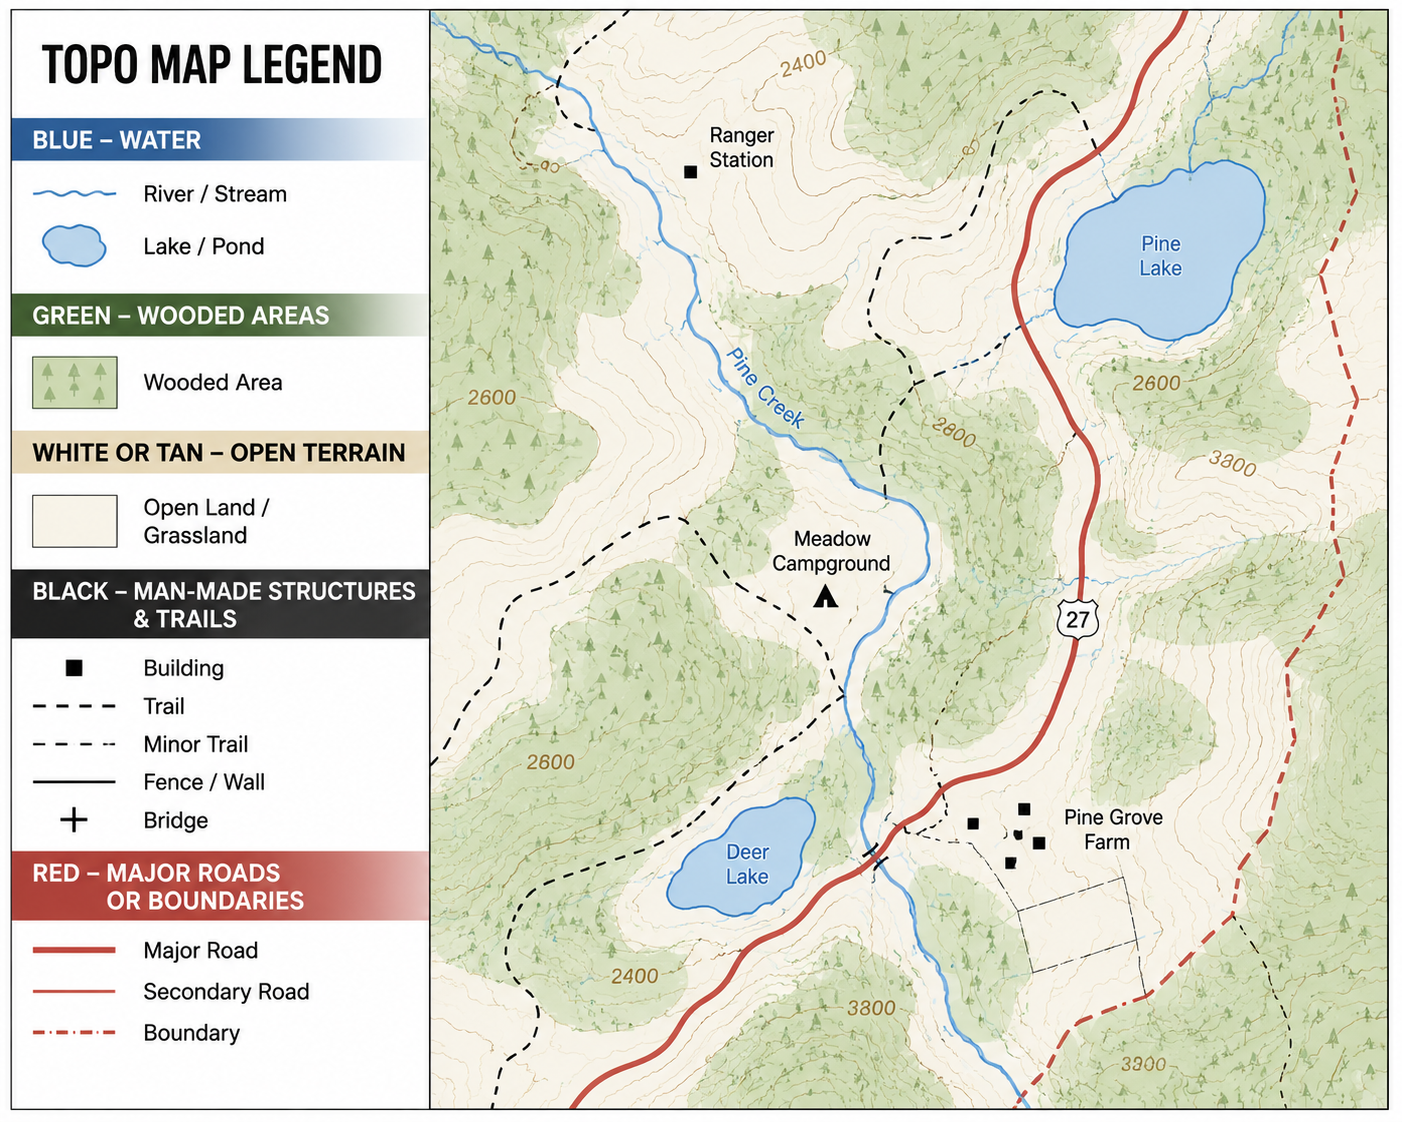
Learn the Symbols
Every topographic map includes a legend explaining its symbols. While symbols may vary slightly between map publishers, common features include:
Blue for water sources such as rivers and lakes
Green for wooded areas
White or tan for open terrain
Black for man-made structures and trails
Red for major roads or boundaries
Taking a few minutes to study the legend can save hours of confusion in the field.
Where Am I heading?
Make it stand out
Whatever it is, the way you tell your story online can make all the difference.
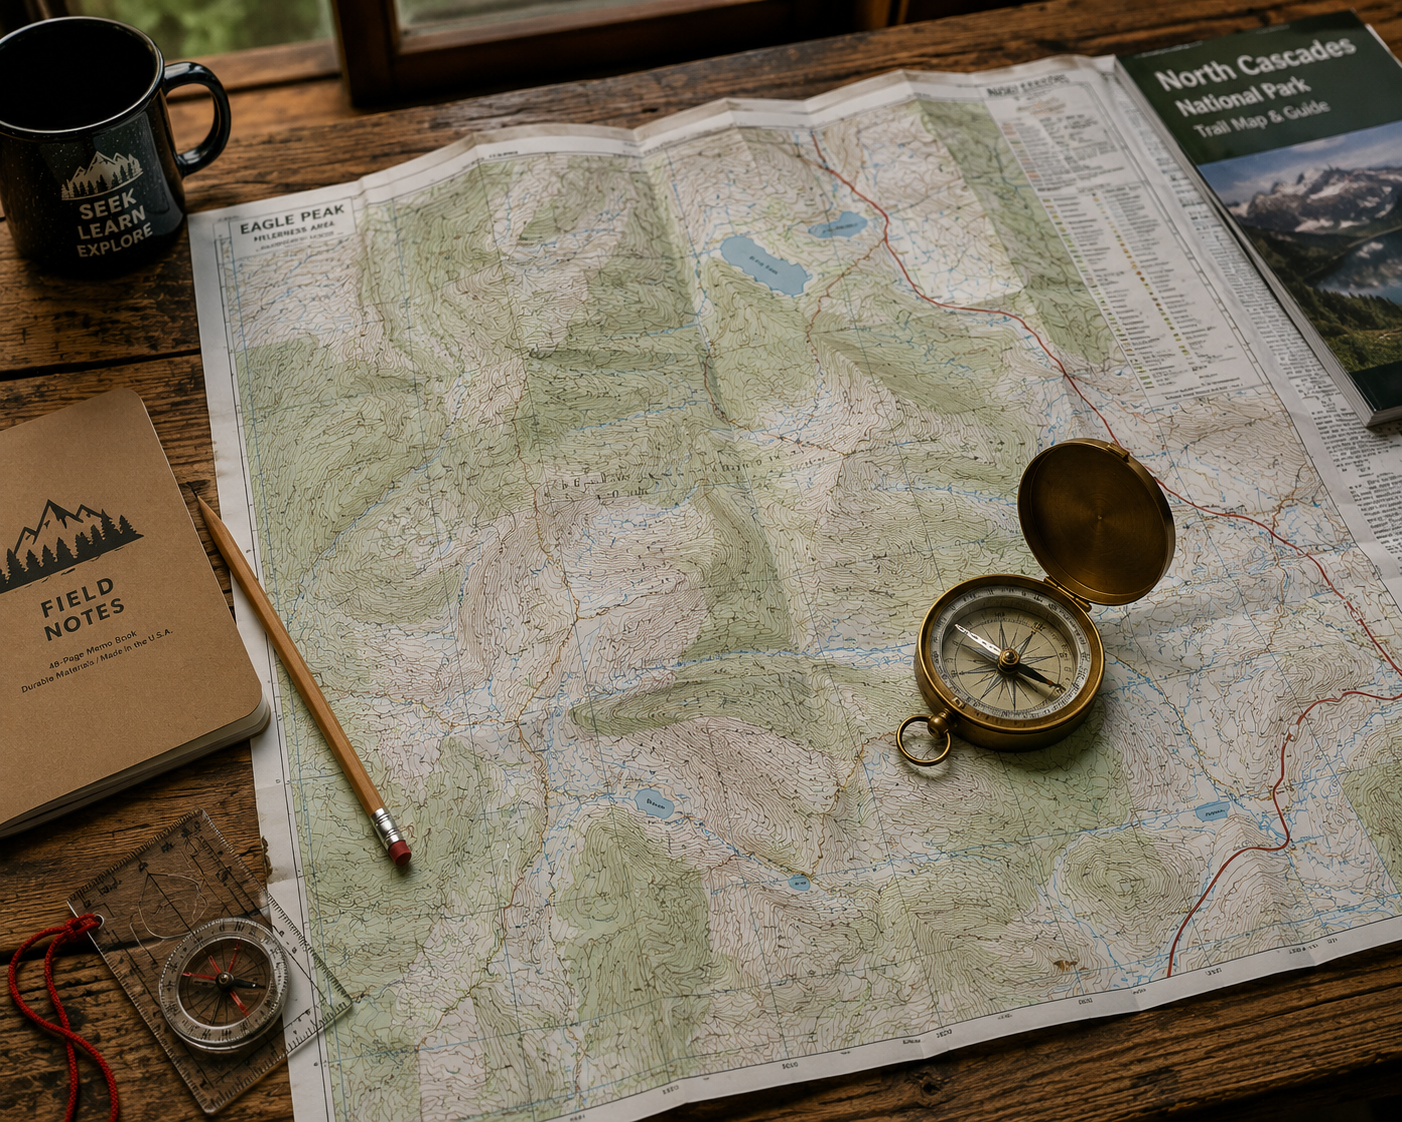
A map is only useful if you know which way you're facing.
Always orient your map using a compass before navigating. Align the map's north with magnetic north and identify your current location. From there, you can determine your route, nearby landmarks, and potential hazards.
Learning to use a compass alongside a topographic map is one of the most valuable navigation skills any adventurer can develop.
How far and how high am I climbing?
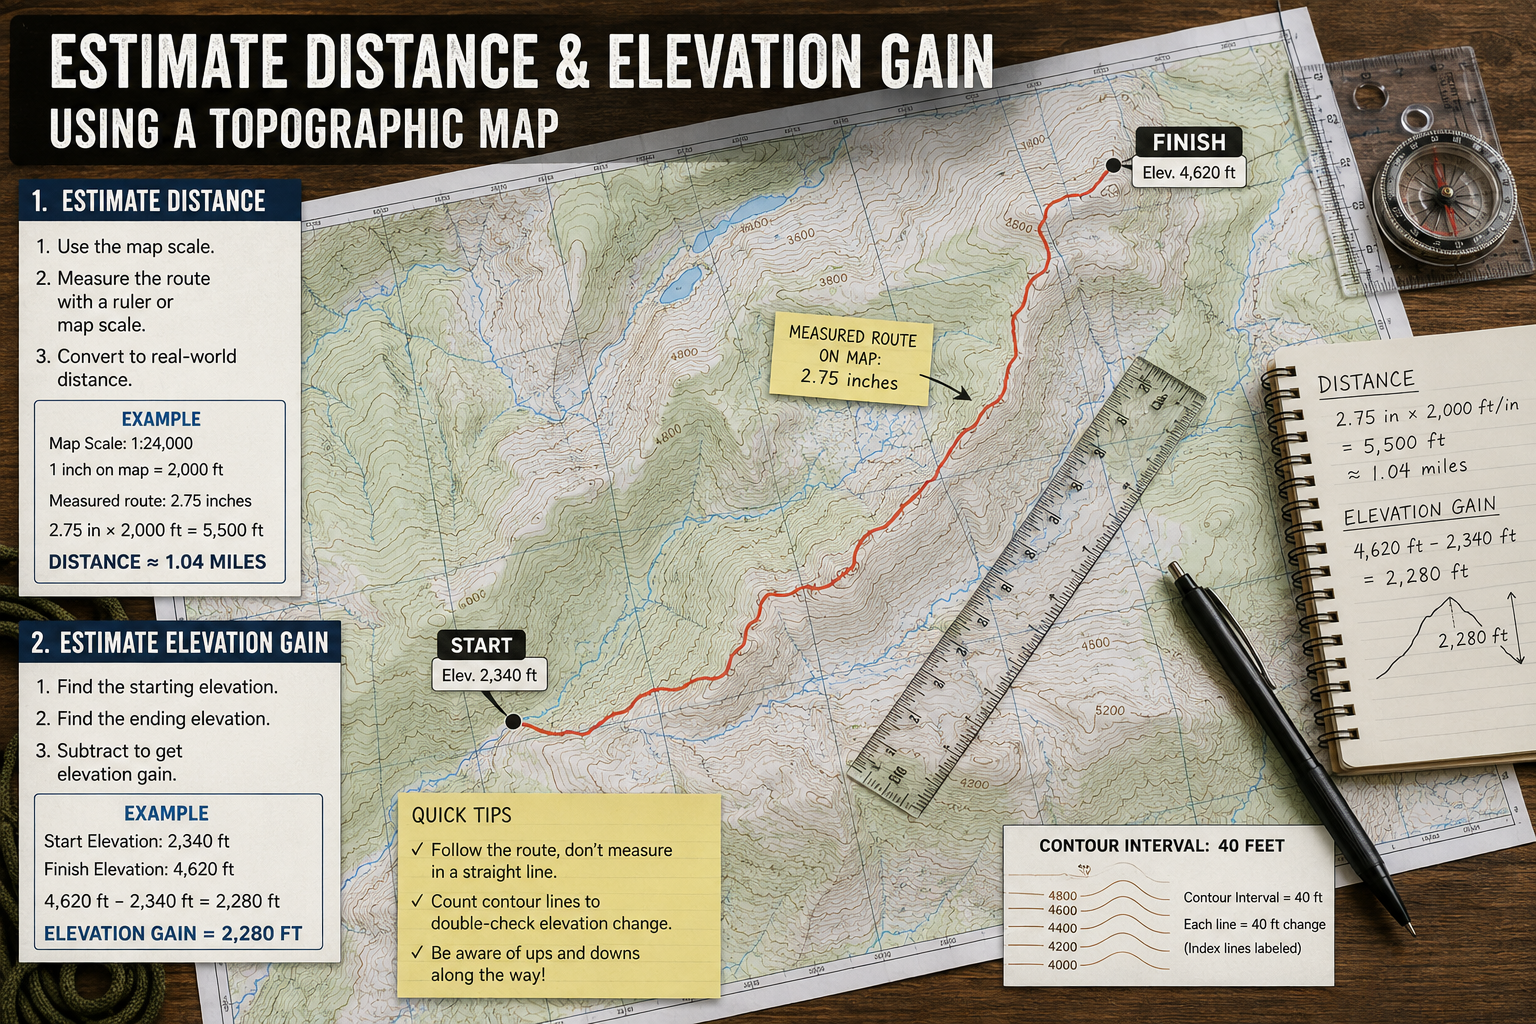
Estimate Distance and Elevation Gain
Every map includes a scale that allows you to measure distance.
Keep in mind that trail distance isn't the only factor affecting difficulty. A two-mile hike with 2,000 feet of elevation gain is far more demanding than a flat two-mile walk.
By studying contour lines before your trip, you can anticipate steep climbs, ridges, saddles, and valleys, helping you plan realistic hiking times and conserve energy.
Practice Before You Go and must of all DO not get Lost
Like any outdoor skill, map reading improves with practice. Bring a printed topographic map on local hikes, even if you're using GPS. Compare what you see on the ground with what appears on the map. Soon you'll recognize terrain features almost instinctively.
The more familiar you become with topographic maps, the more confident you'll feel exploring new places.
Technology is an incredible tool, but it should never replace fundamental navigation skills. Learning how to read a topographic map gives you a deeper understanding of the landscape, improves trip planning, and provides a dependable backup when electronics fail.
Before your next adventure, spend a little time studying your map. The knowledge you gain today could make tomorrow's journey safer, more enjoyable, and far more rewarding.
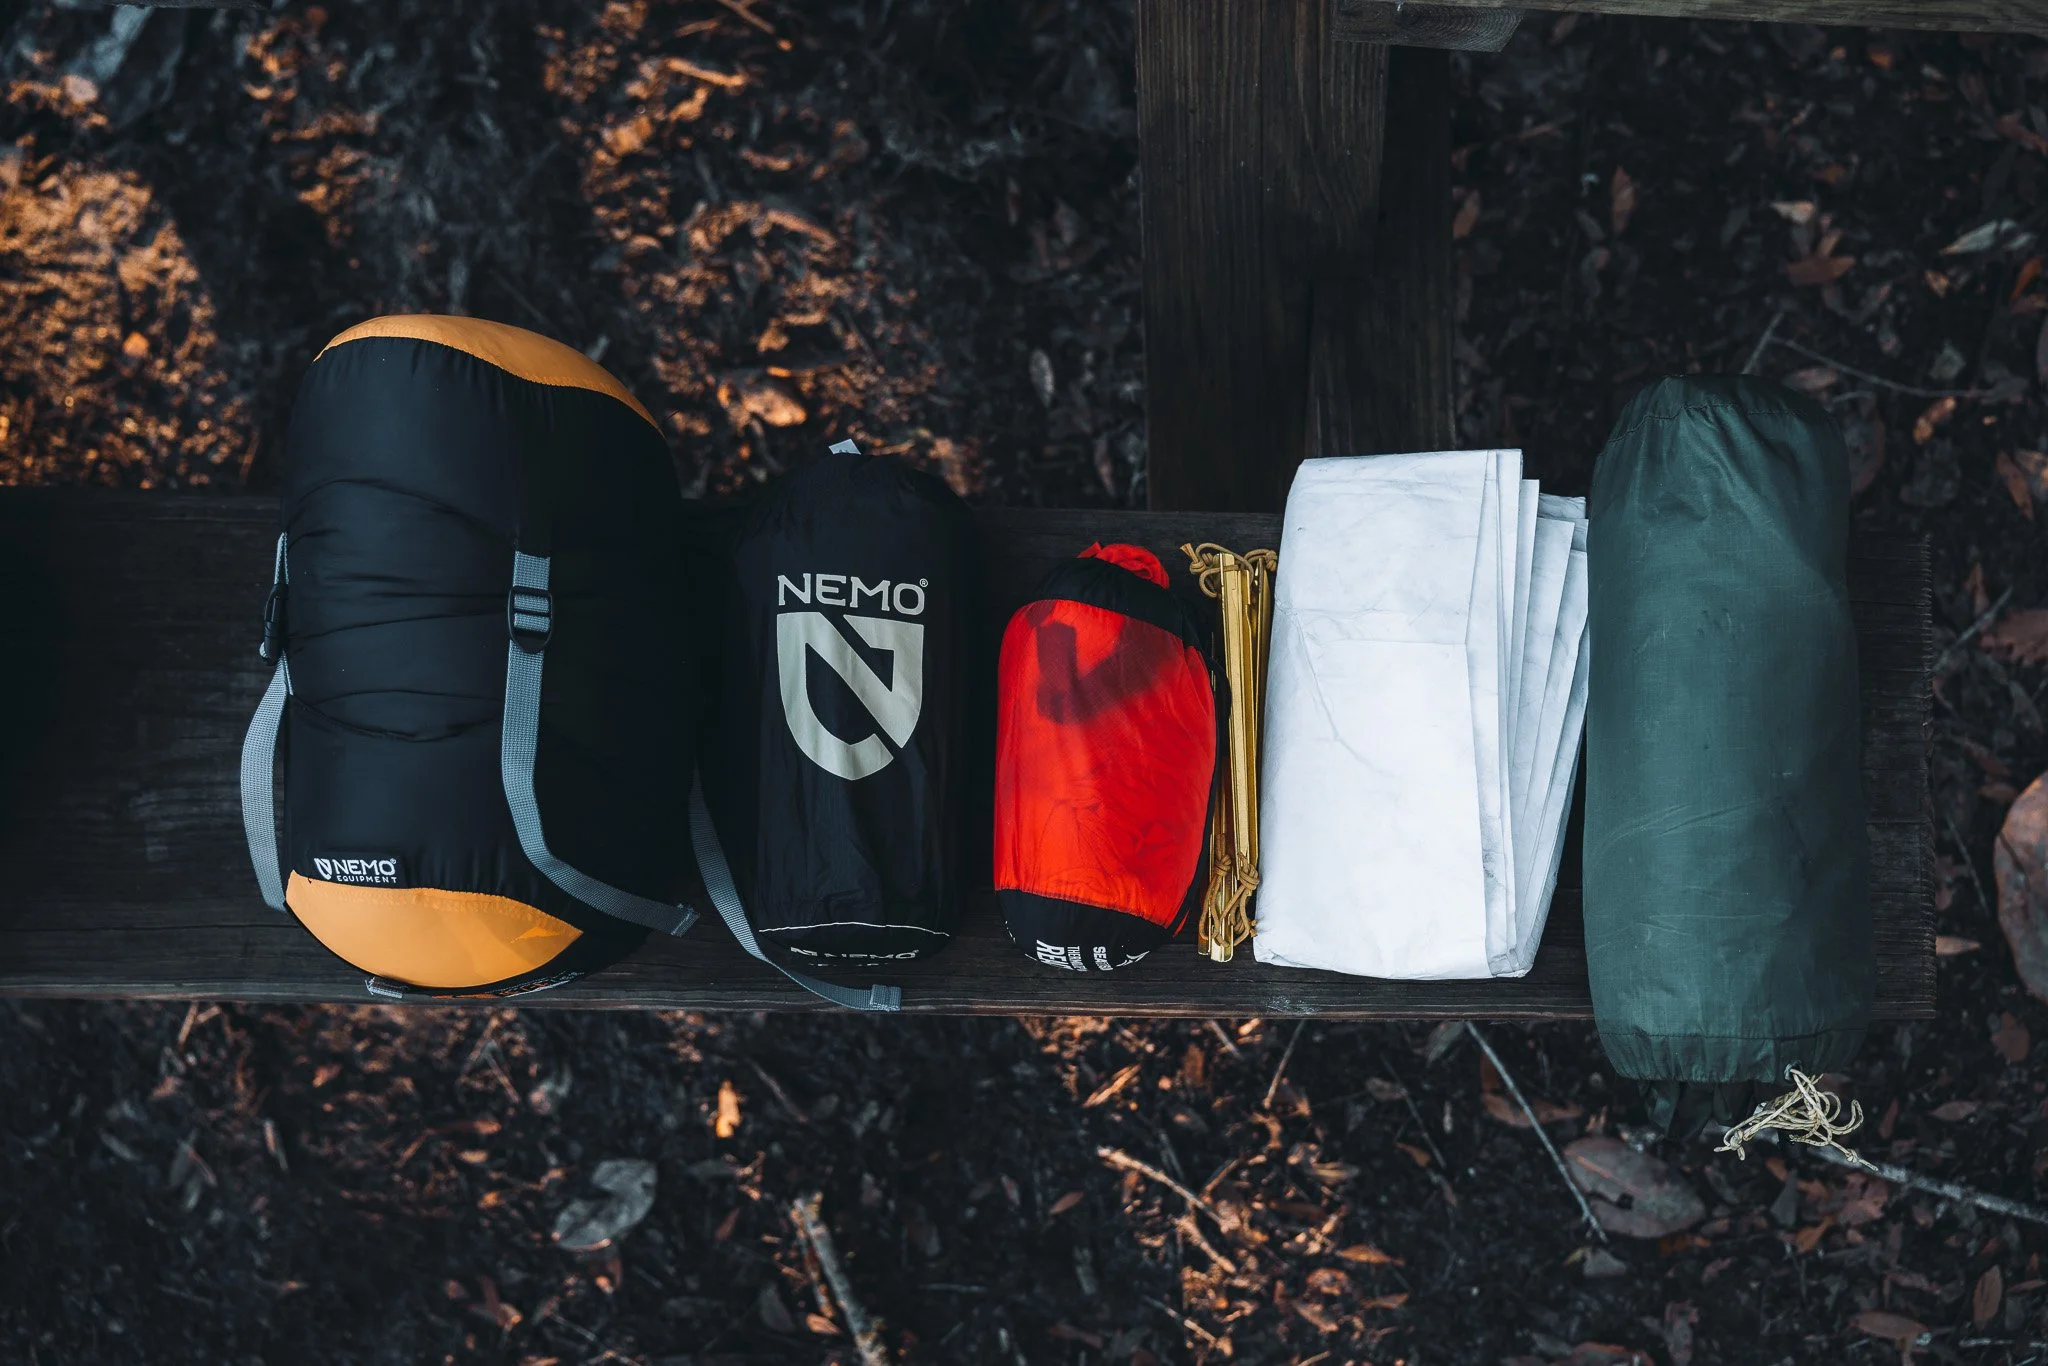
10 Essential Items Every First-Time Backpacker Needs
Planning your first camping trip? Don't get overwhelmed by endless gear lists. Learn the 10 essential items every first-time camper need from navigation and shelter to first aid, fire, and sun protection. This beginner-friendly guide will help you pack smarter, stay safe, and enjoy your adventure with confidence. Whether you're camping at a local campground or exploring the backcountry, these essentials will set you up for a successful trip.
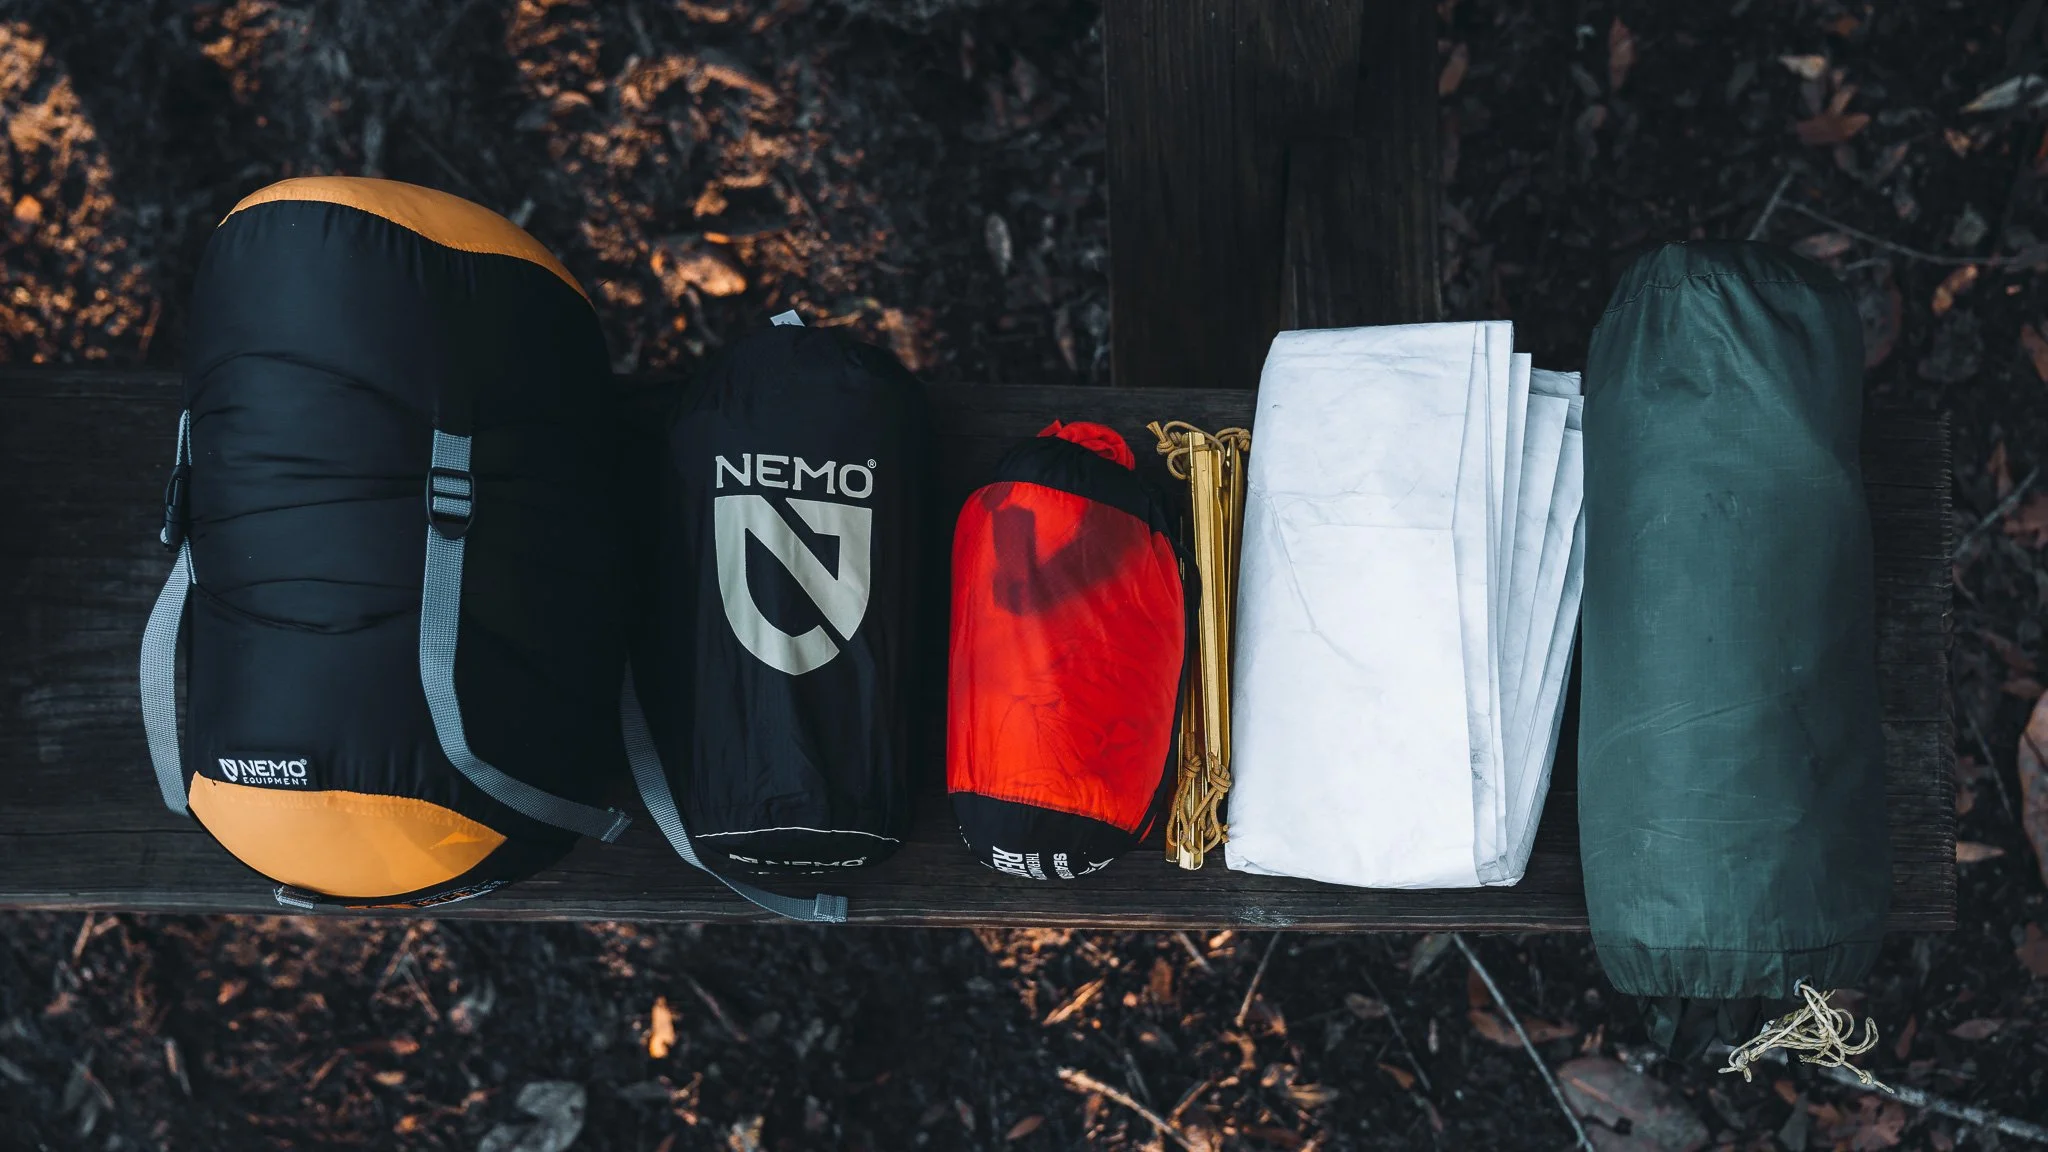
So, you want to go camping and you are starting your research into what to bring. During your search online you probably seen multiple articles about the 10 essential items of camping.
Many first-time campers assume they need the latest gear or an expensive setup. The truth is that successful camping isn't about having the most equipment, it's about bringing the right equipment. The outdoor community has long relied on a simple system known as the 10 Essentials, a collection of items that help keep you safe, comfortable, and prepared for unexpected situations.
Whether you're spending a weekend at a local campground or venturing into the backcountry for your first overnight adventure, being prepared can make the difference between a memorable trip and a miserable one.
Before packing for your first camping trip, make sure these ten essentials are on your checklist.
THE TEN ESSENTIALS
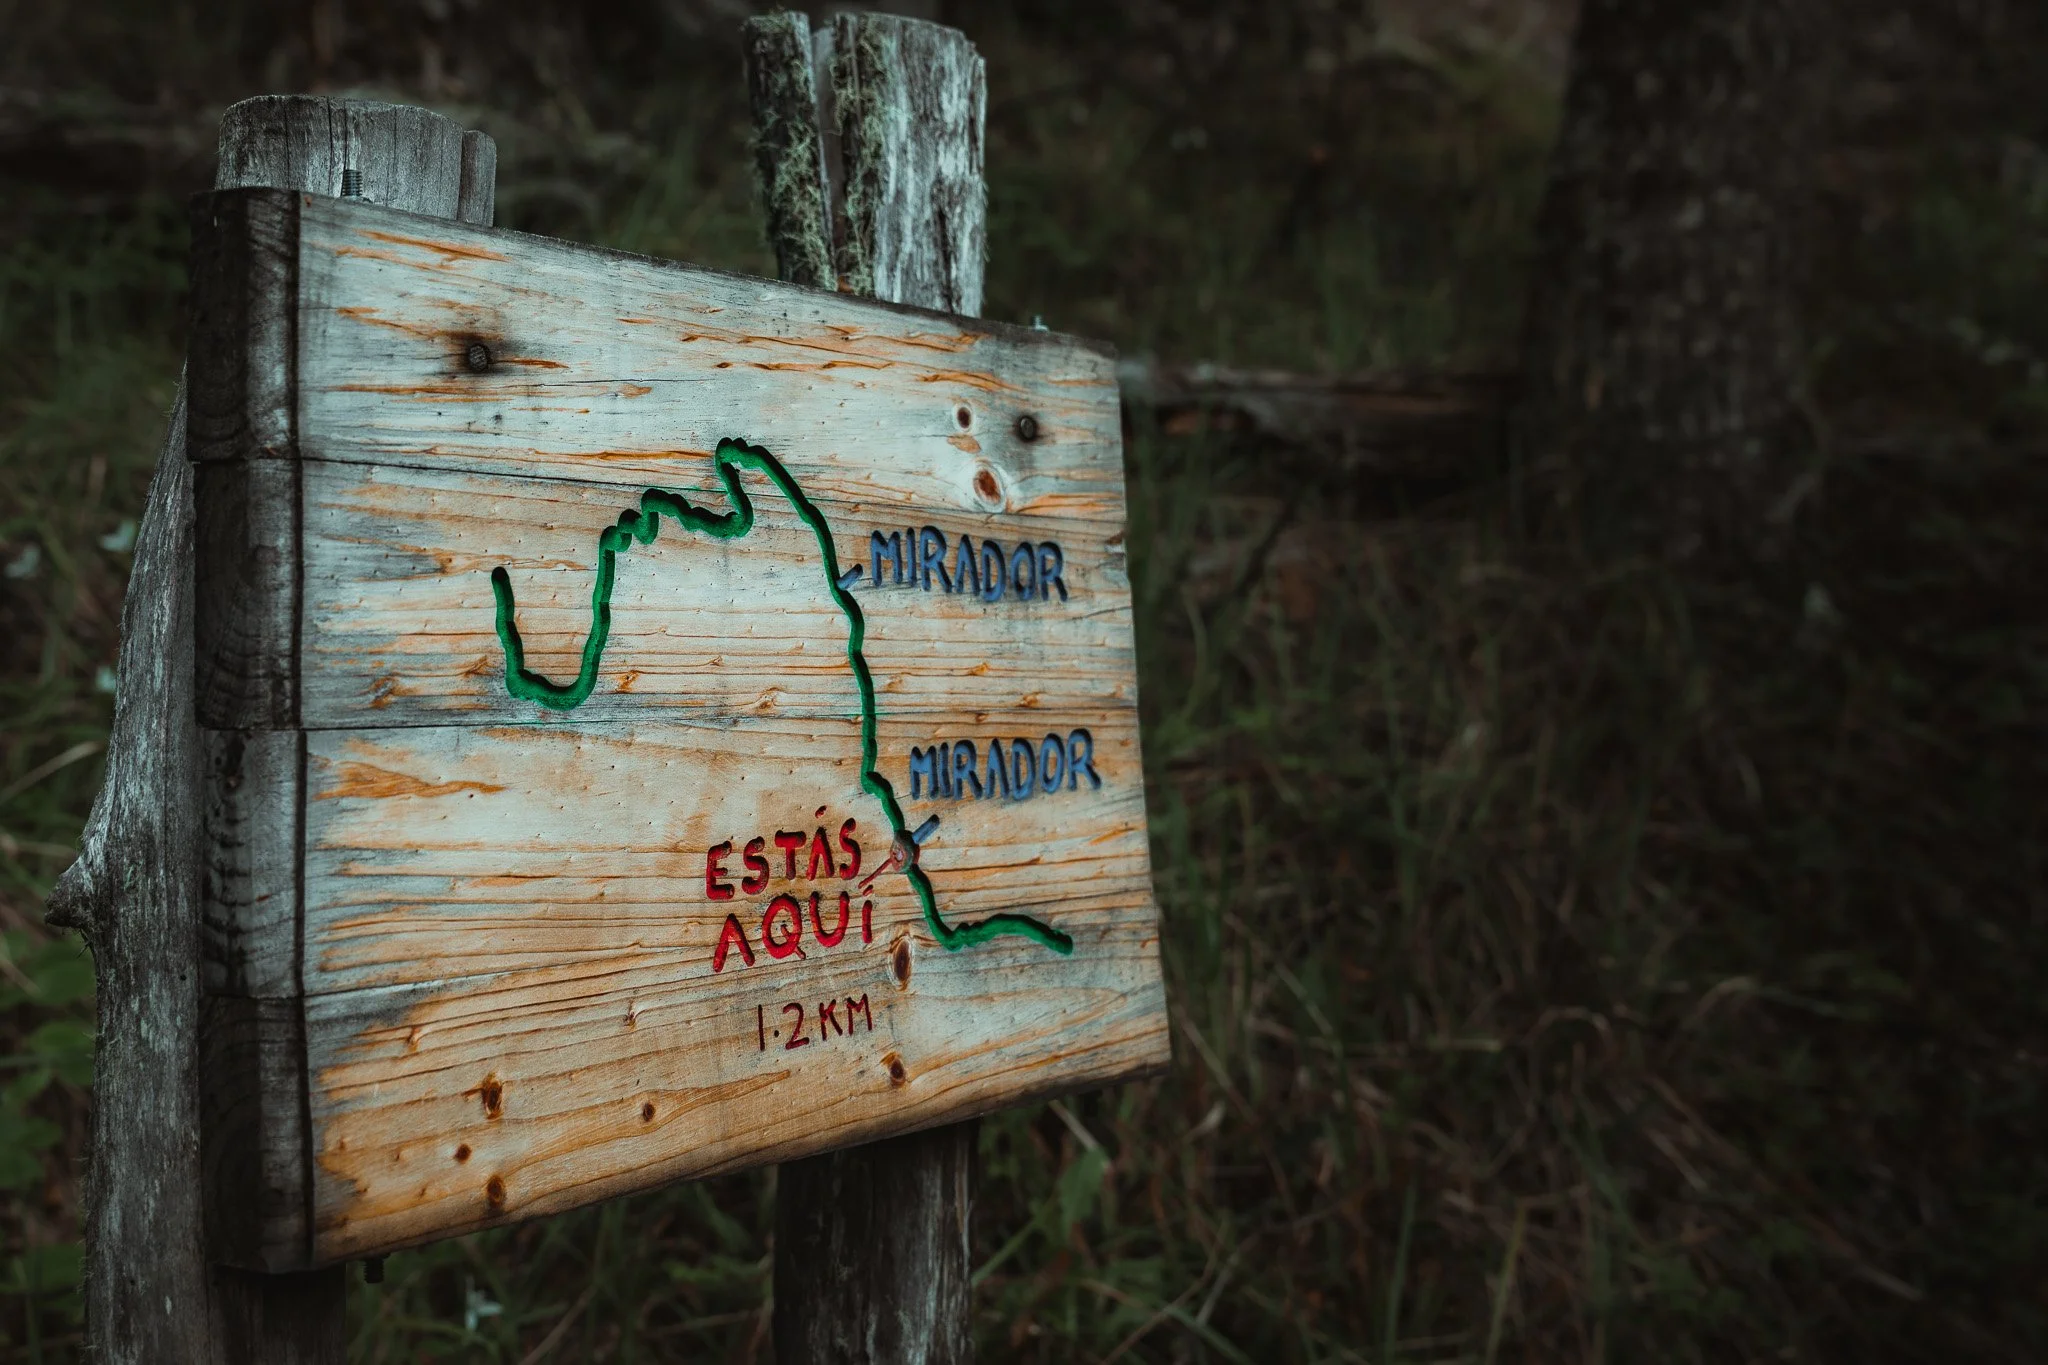
1. Navigation
Beginner Tip: Never rely solely on your phone for navigation.
Knowing where you're going is just as important as getting there safely. Even well-marked trails can become confusing, especially in poor weather or low visibility.
Carry a map of the area and a compass and learn how to use them before heading out. While smartphone GPS apps are helpful, batteries die and cell service can disappear quickly. A dedicated GPS device or downloaded offline maps can provide an extra layer of security, but traditional navigation skills remain invaluable.
Map
The good old paper map. They are reliable tools for navigation, offering a clear overview of routes and terrain. Having a physical map is a great backup, since it doesn’t rely on cell service or the internet and is immune to battery failures.
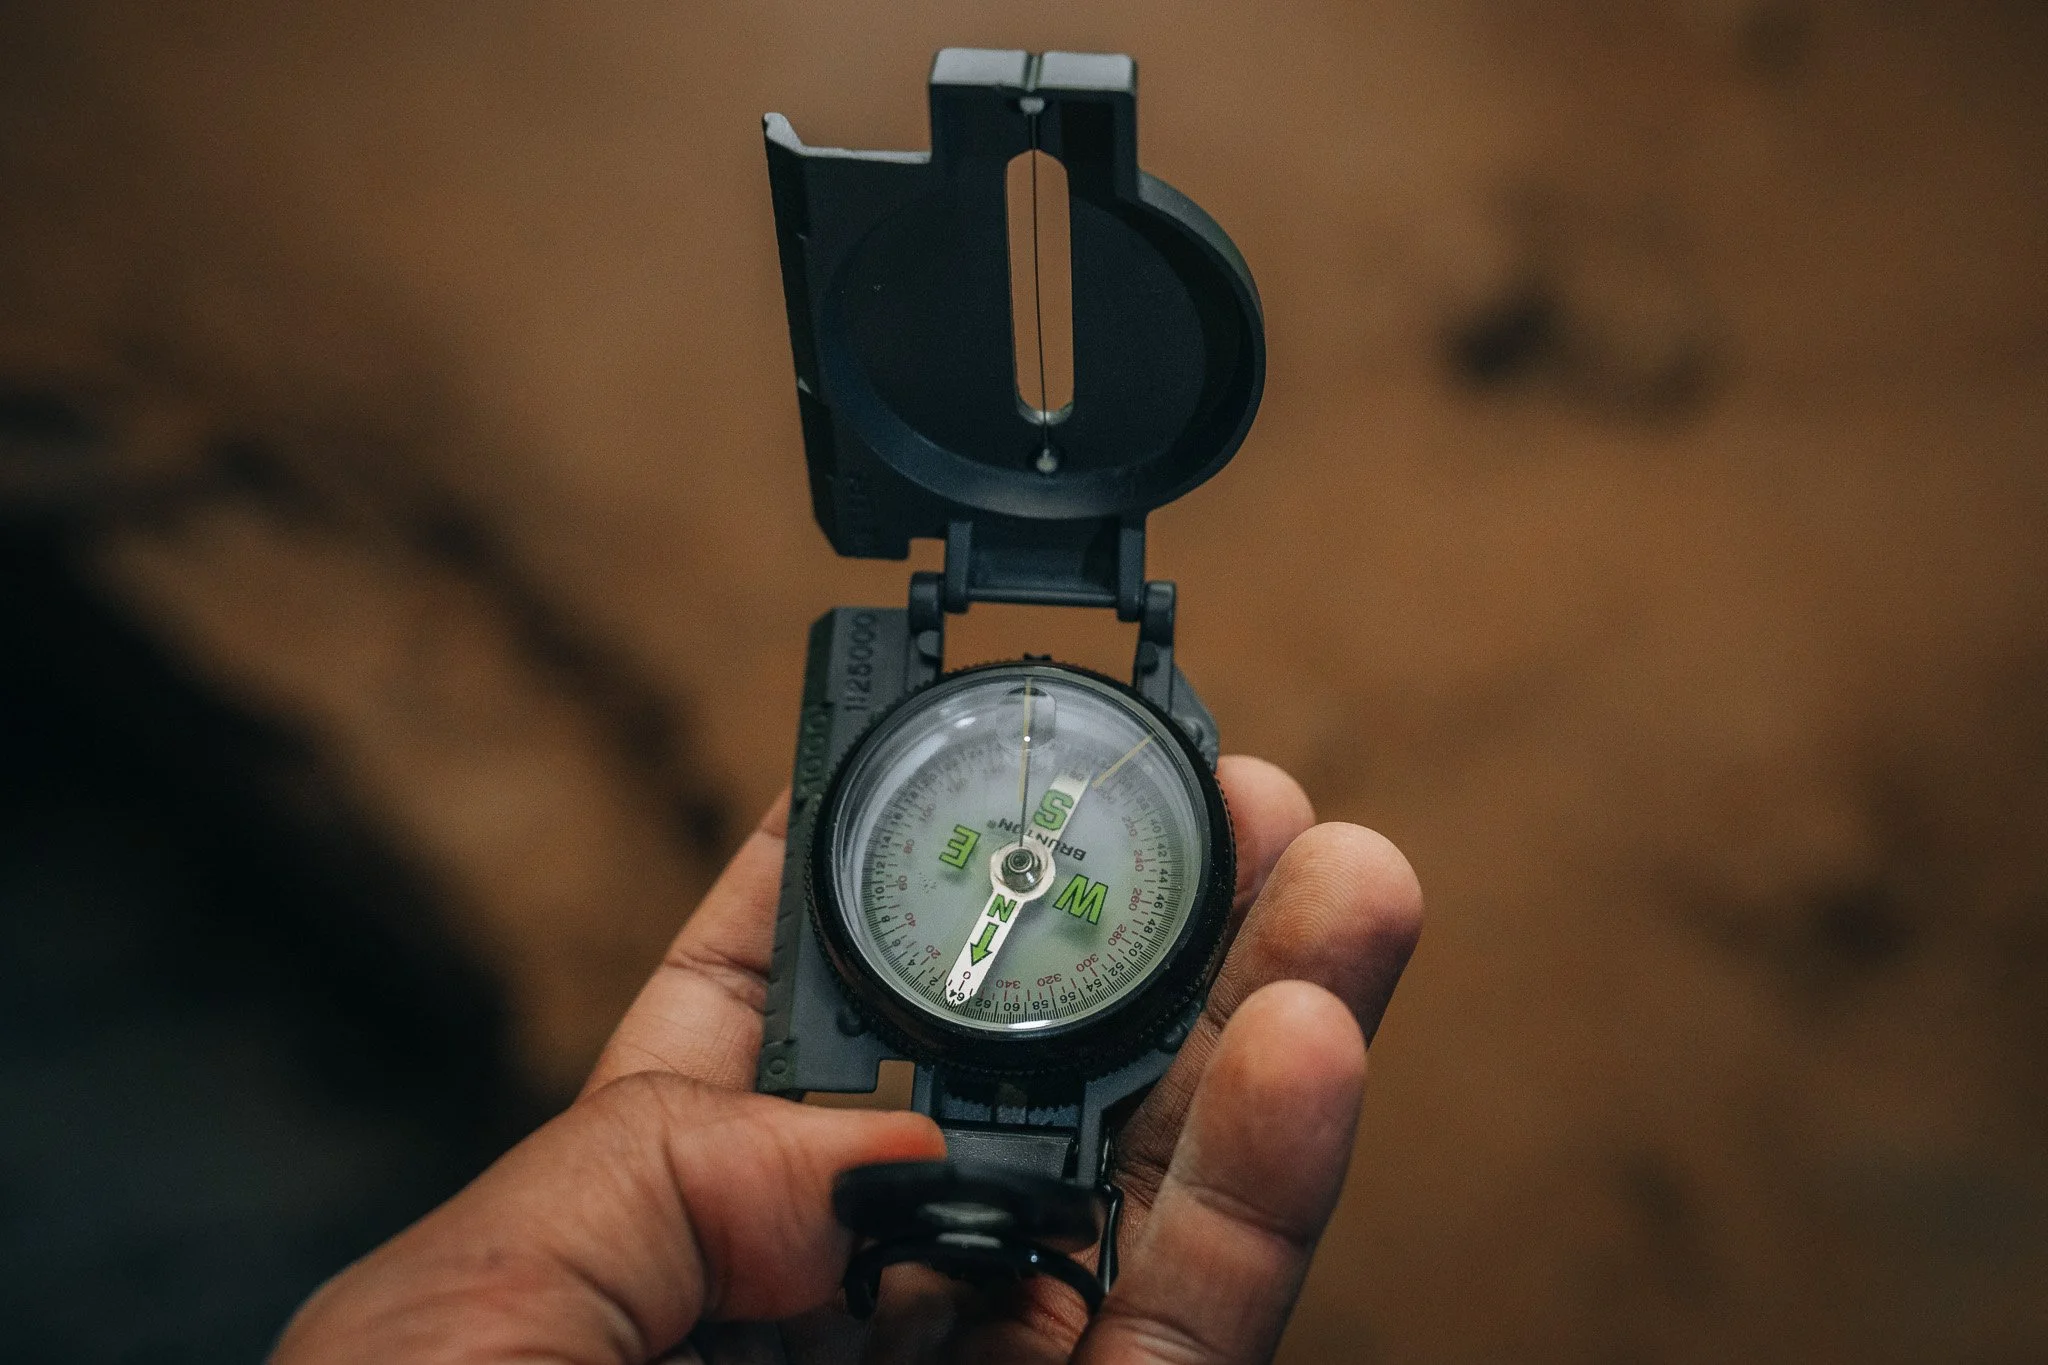
Compass
The compass is a useful add-on tool for the map. It helps establish a clear heading and lets you orient yourself on the map with greater confidence.
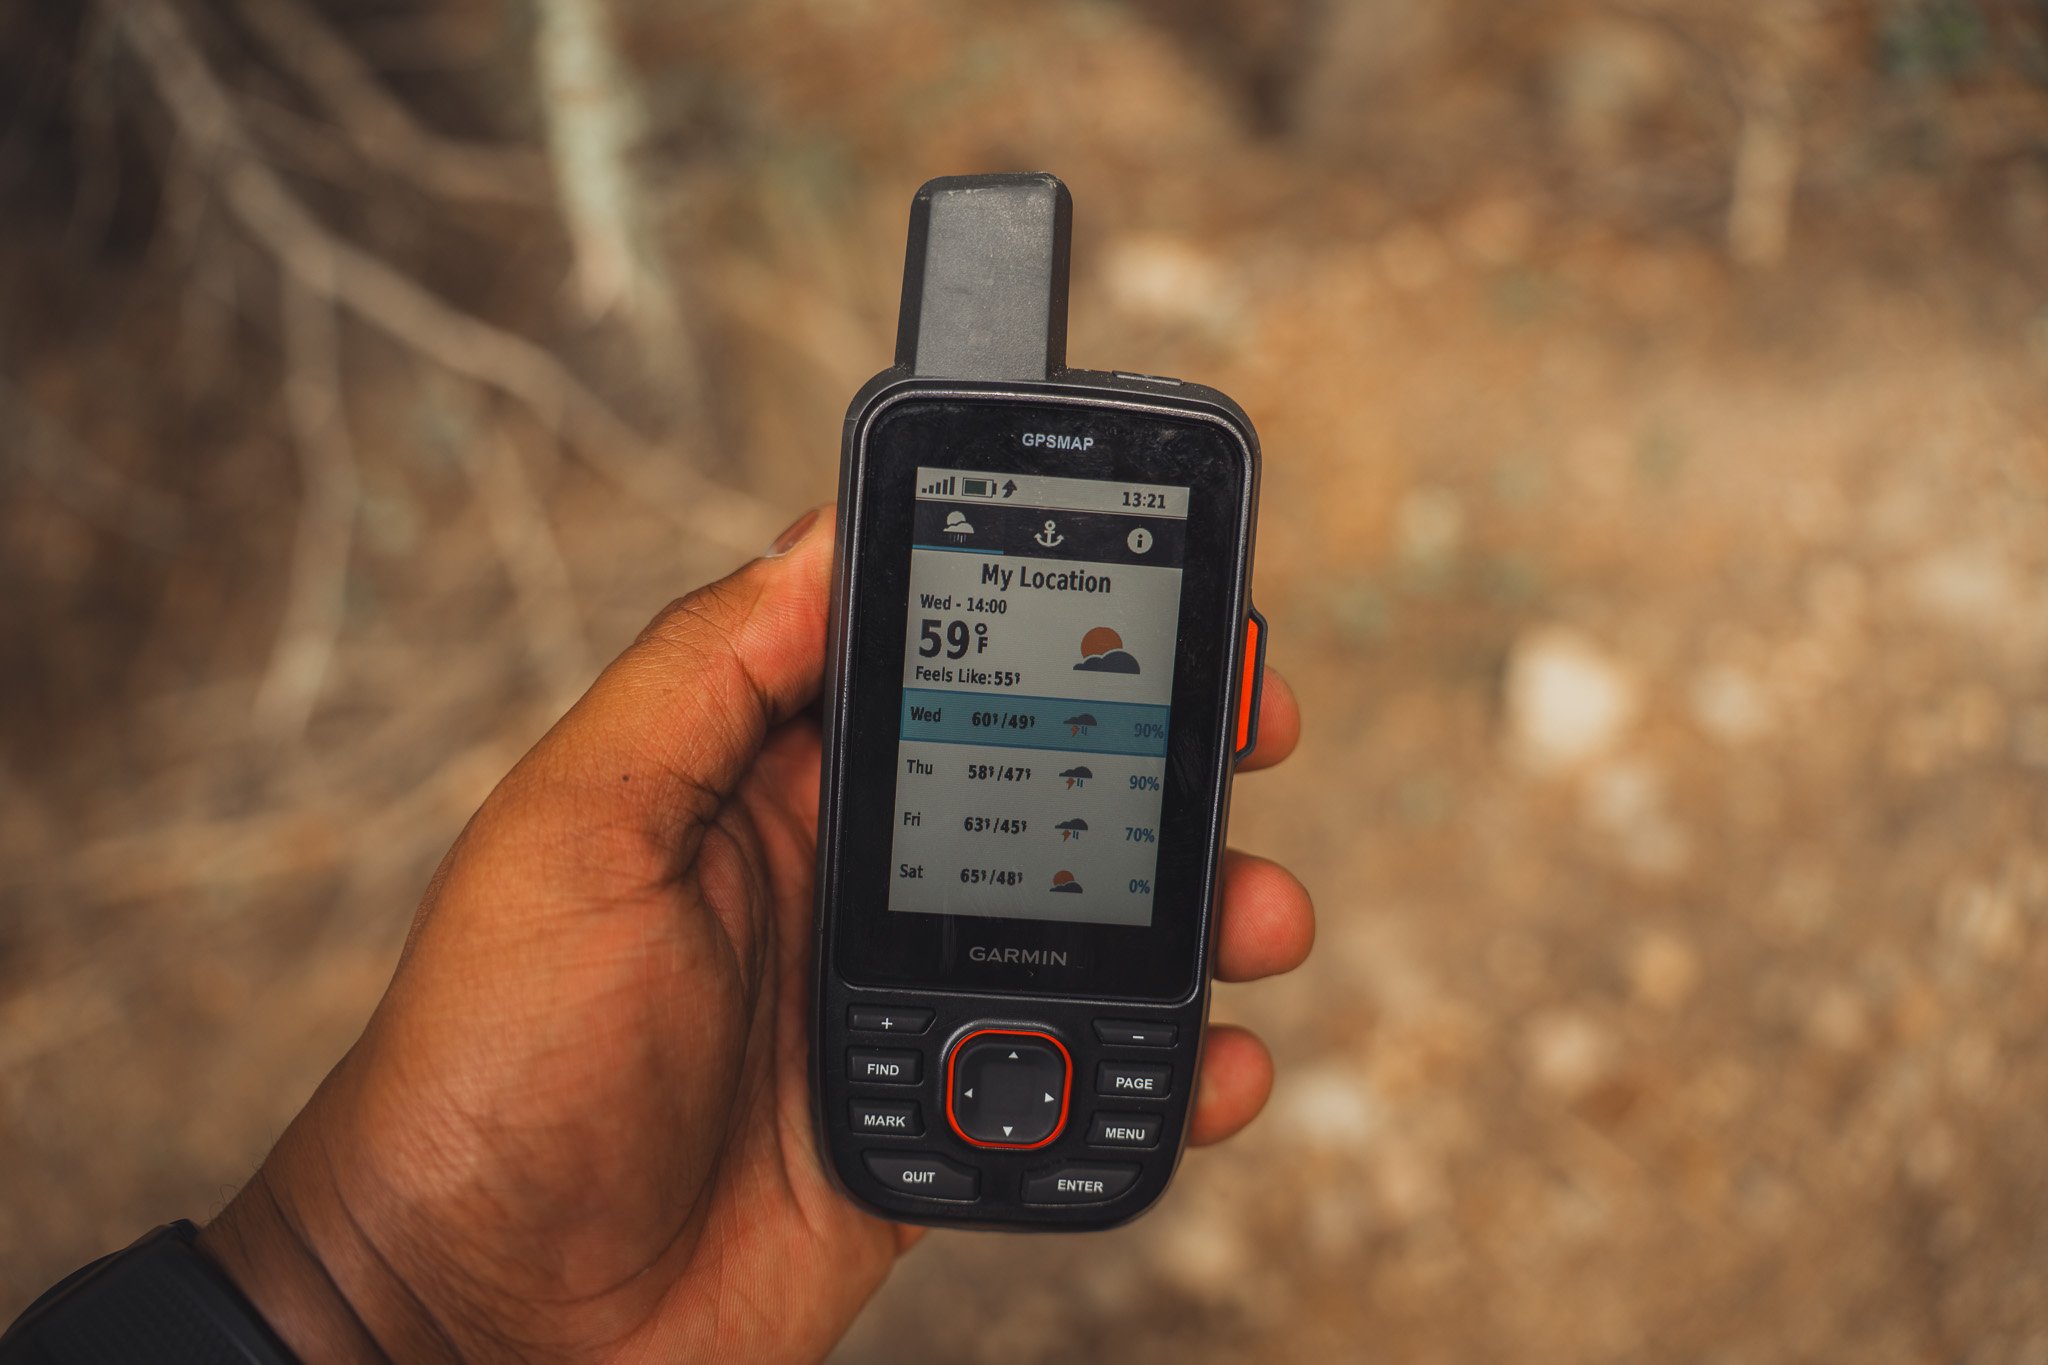
GPS
A dedicated GPS is a very helpful navigation tool, and many modern systems also double as satellite communicators for added safety and connectivity.
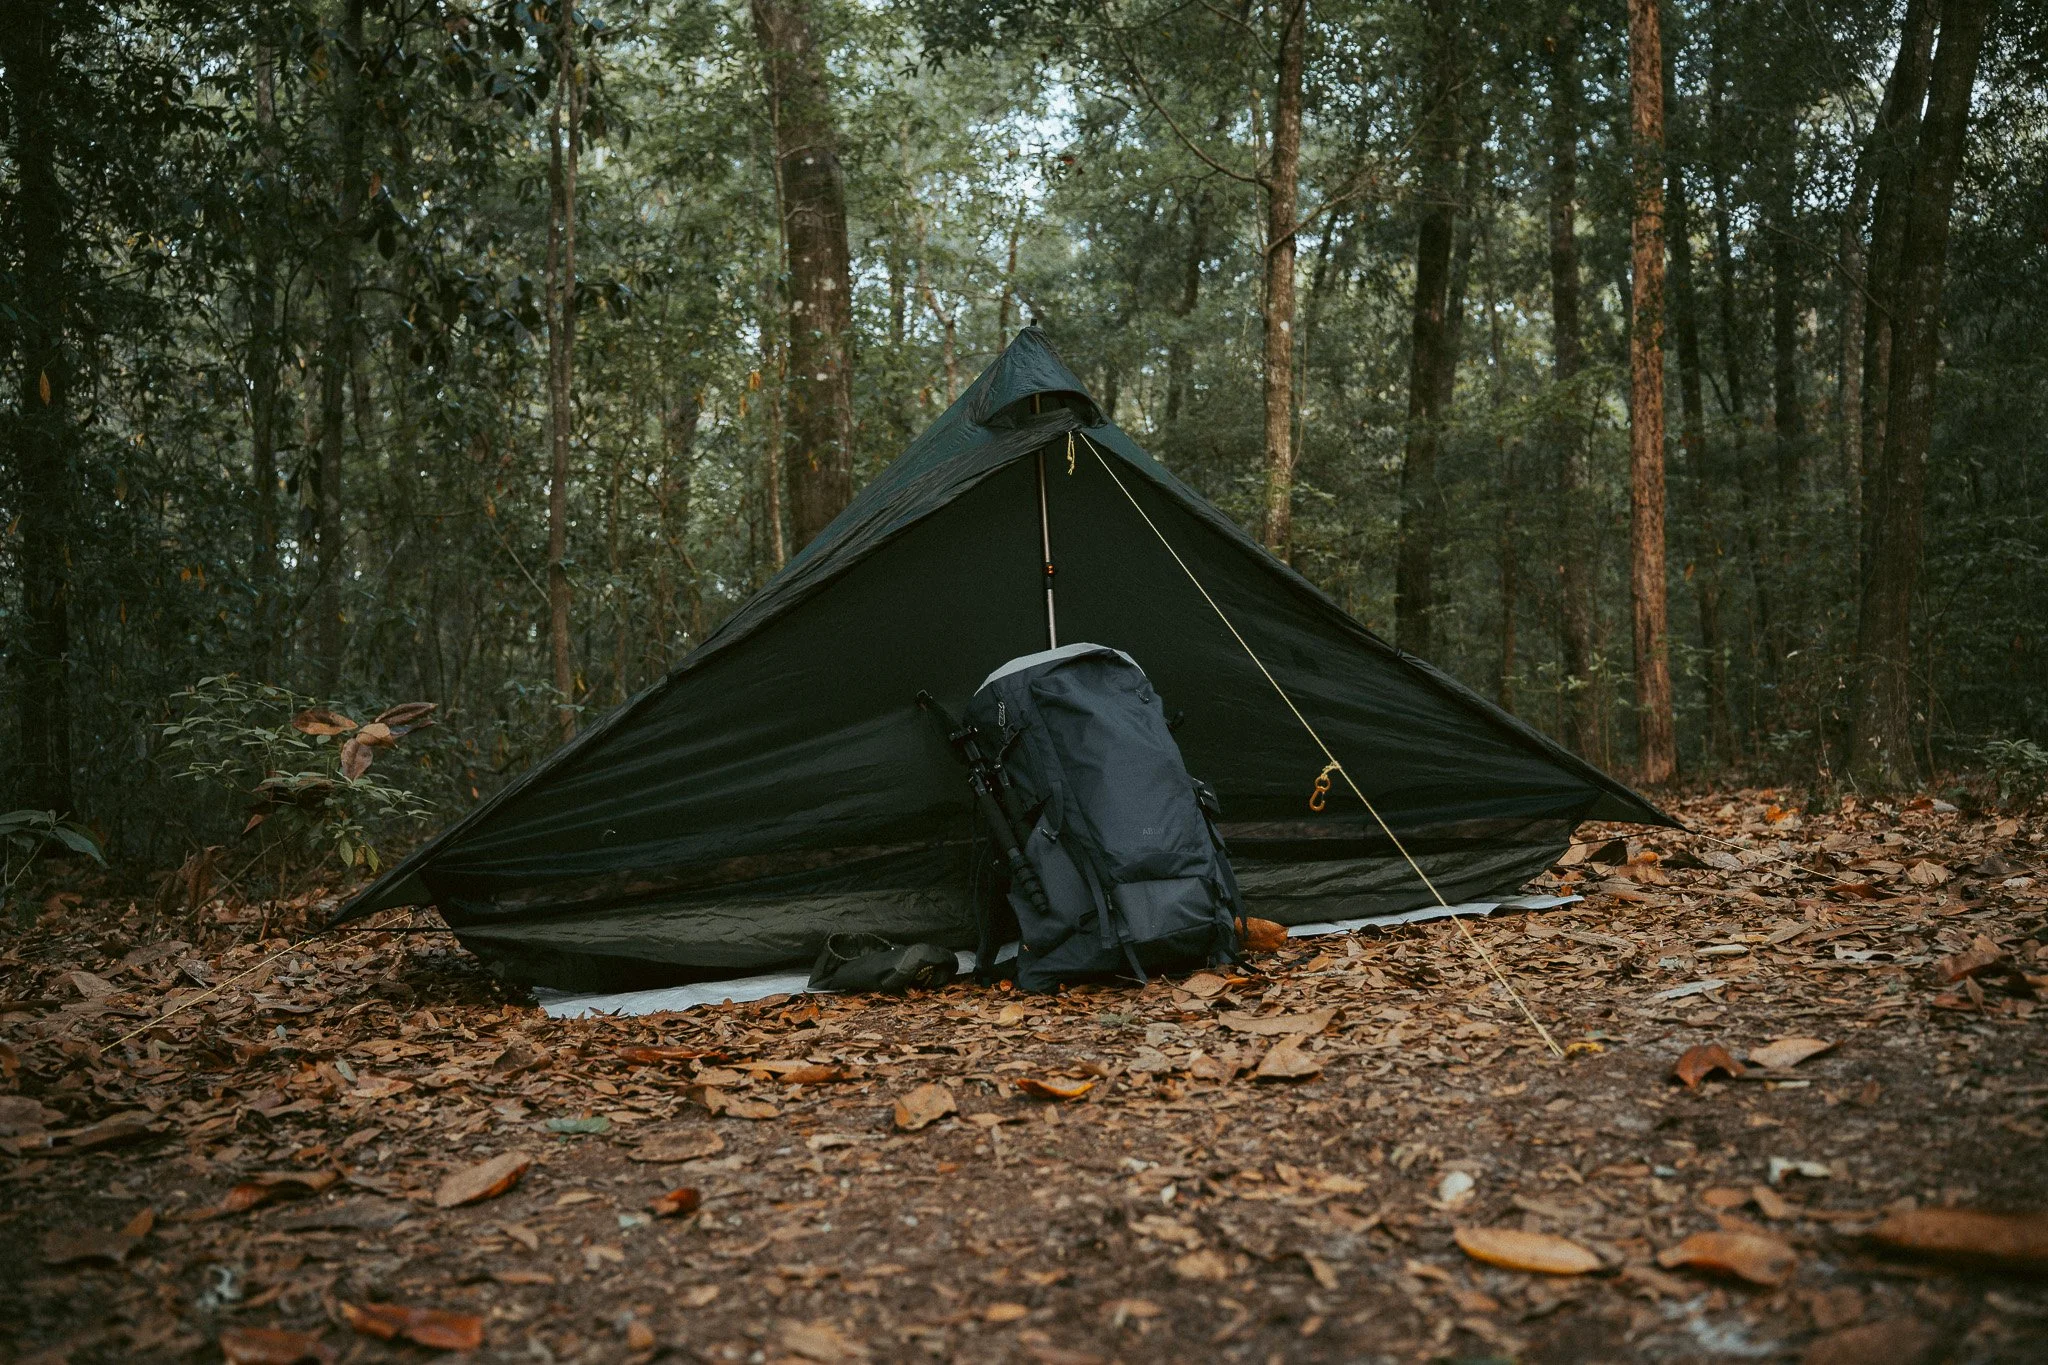
2. Shelter
Beginner Tip: Set up your tent at home before your trip so you're not learning in the dark after arriving at camp.
Your shelter protects you from rain, wind, insects, and changing temperatures. For most first-time campers, a quality tent is the easiest and most reliable option.
Choose a tent that's easy to set up, includes a waterproof rainfly, and provides enough room for both you and your gear. If you're camping with another person, consider sizing up to make your stay more comfortable.
3. Water
Beginner Tip: Always carry more water than you think you'll need, especially during warm weather.
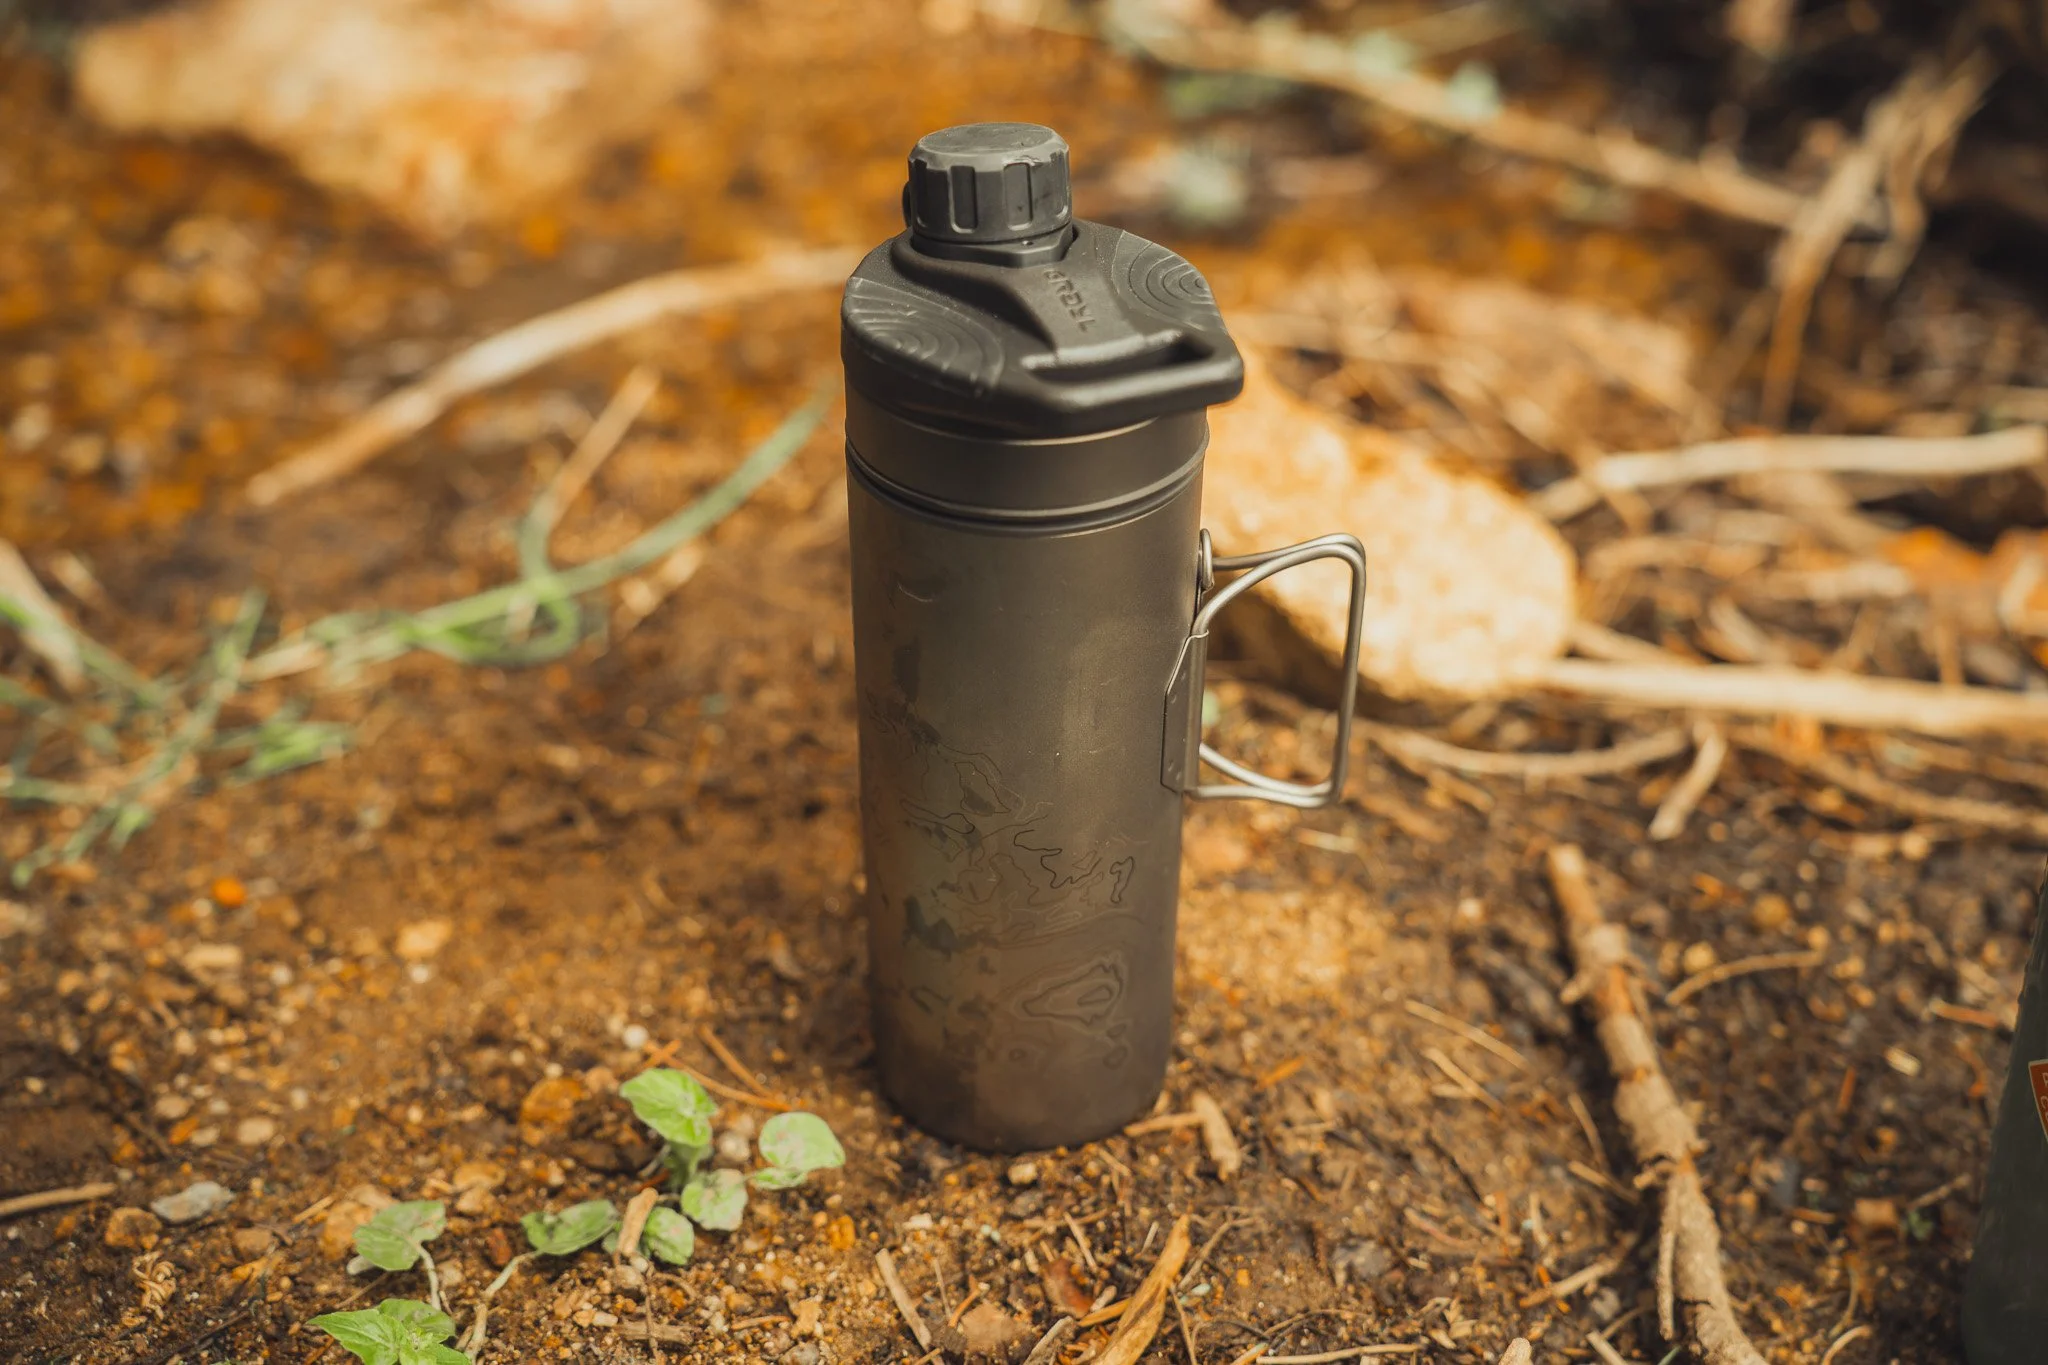
Hydration is essential during any outdoor adventure. Even mild dehydration can affect your energy, decision-making, and overall enjoyment.
Bring plenty of drinking water if you're staying at a campground. If you're camping in more remote locations, carry a water filter, purification tablets, or another reliable treatment method so you can safely collect water from natural sources.
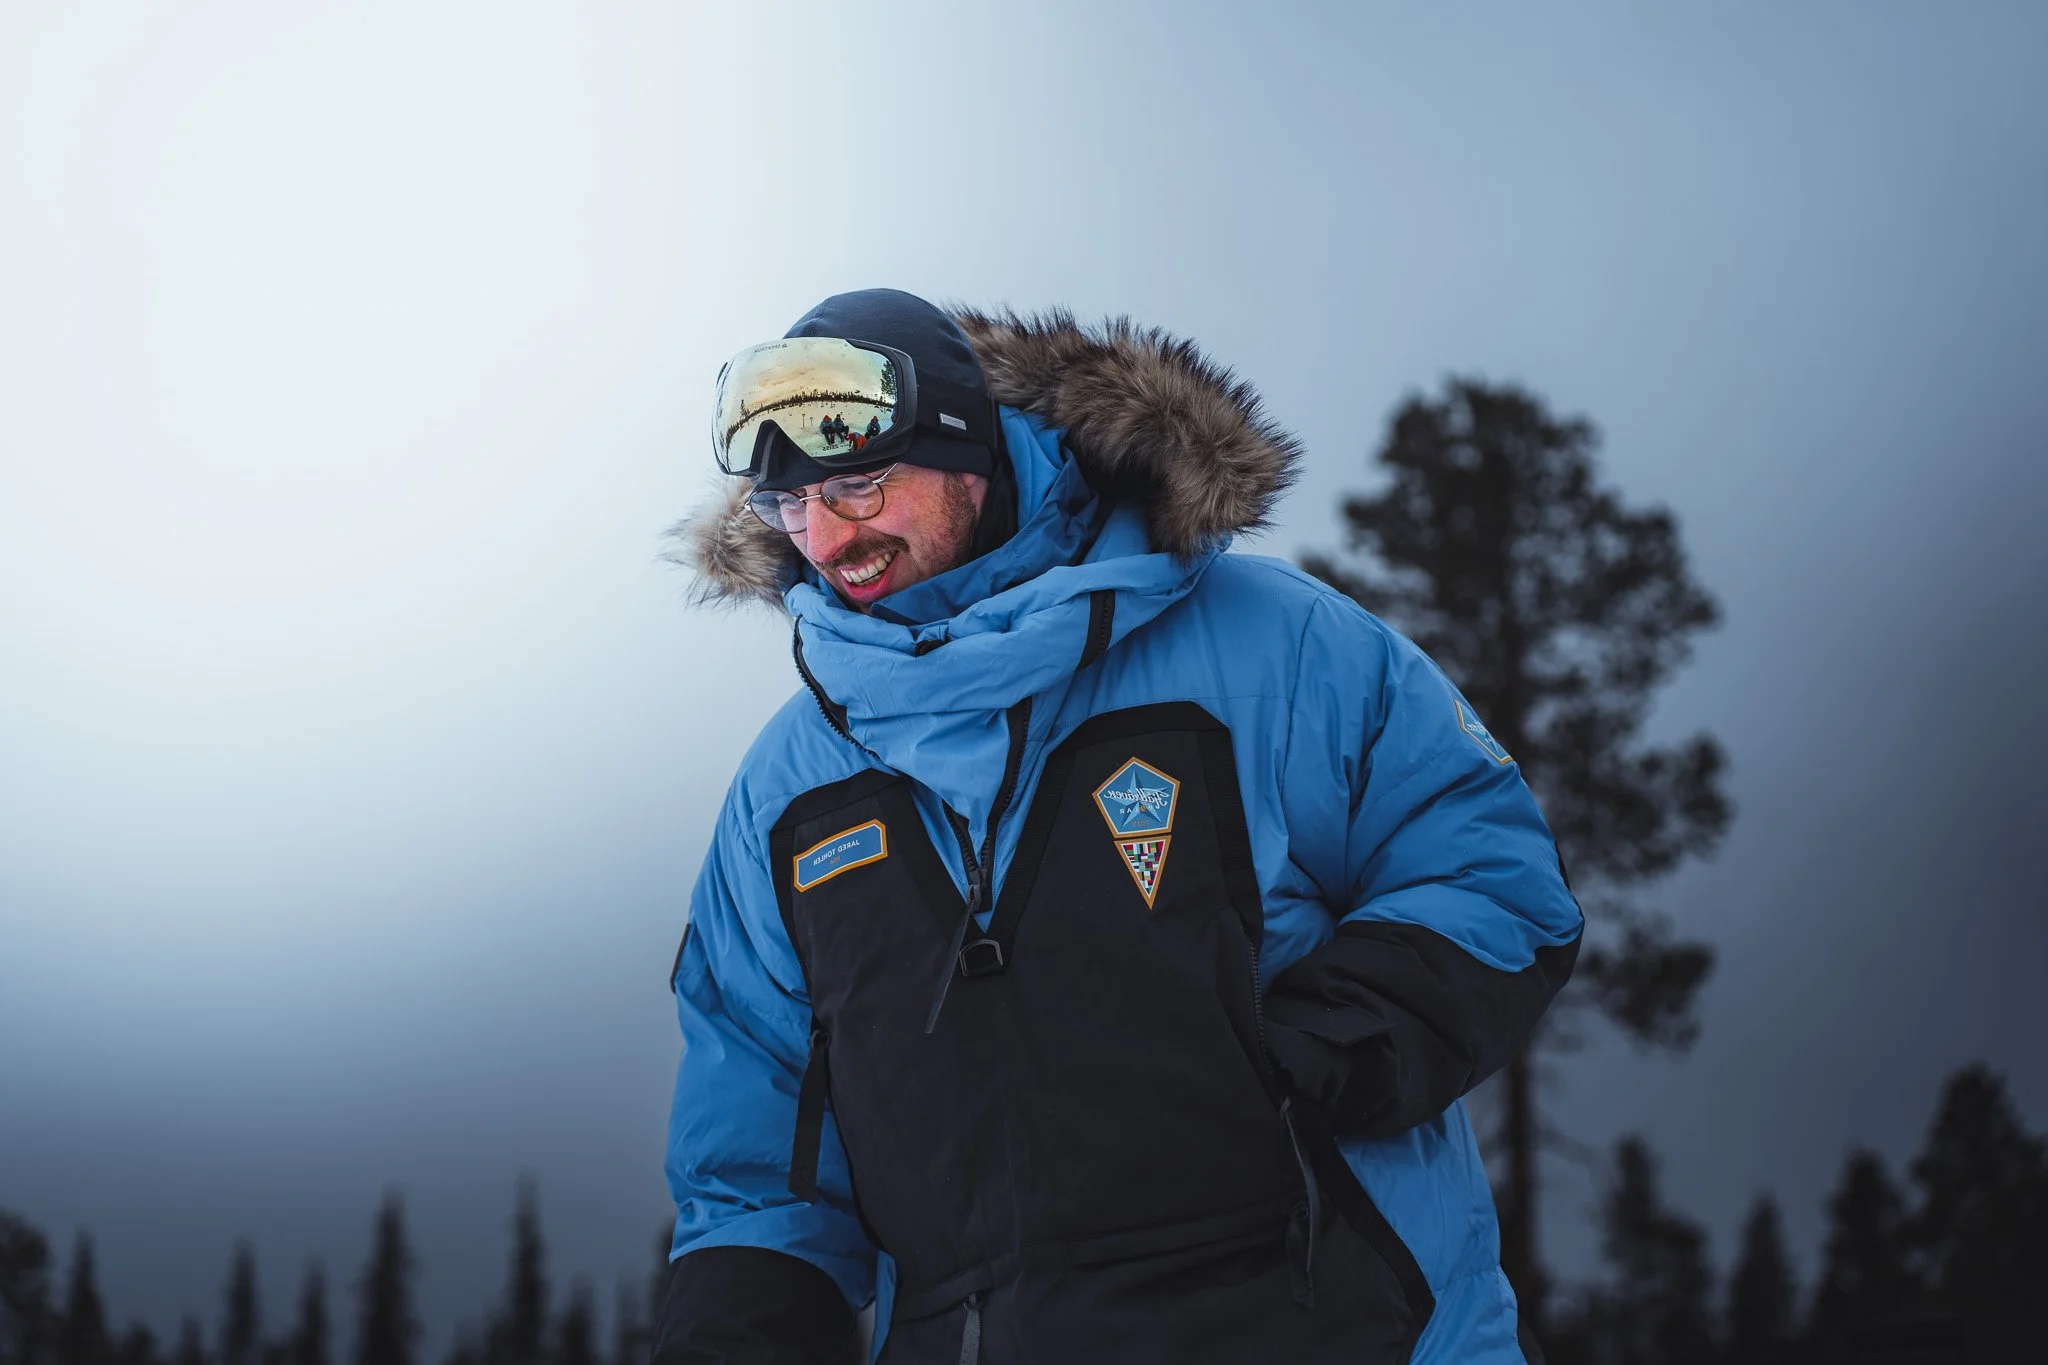
4. Appropriate Clothing
Beginner Tip: Pack for the weather forecast but prepare for unexpected changes.
Weather conditions can change quickly outdoors, even during the summer. Dressing in layers allows you to adapt throughout the day.
A moisture-wicking base layer, an insulating middle layer, and a waterproof outer layer will keep you comfortable in most conditions. Don't forget extra socks, a warm hat for cool evenings, and rain gear.
Avoid cotton whenever possible because it retains moisture and can leave you feeling cold once it gets wet.
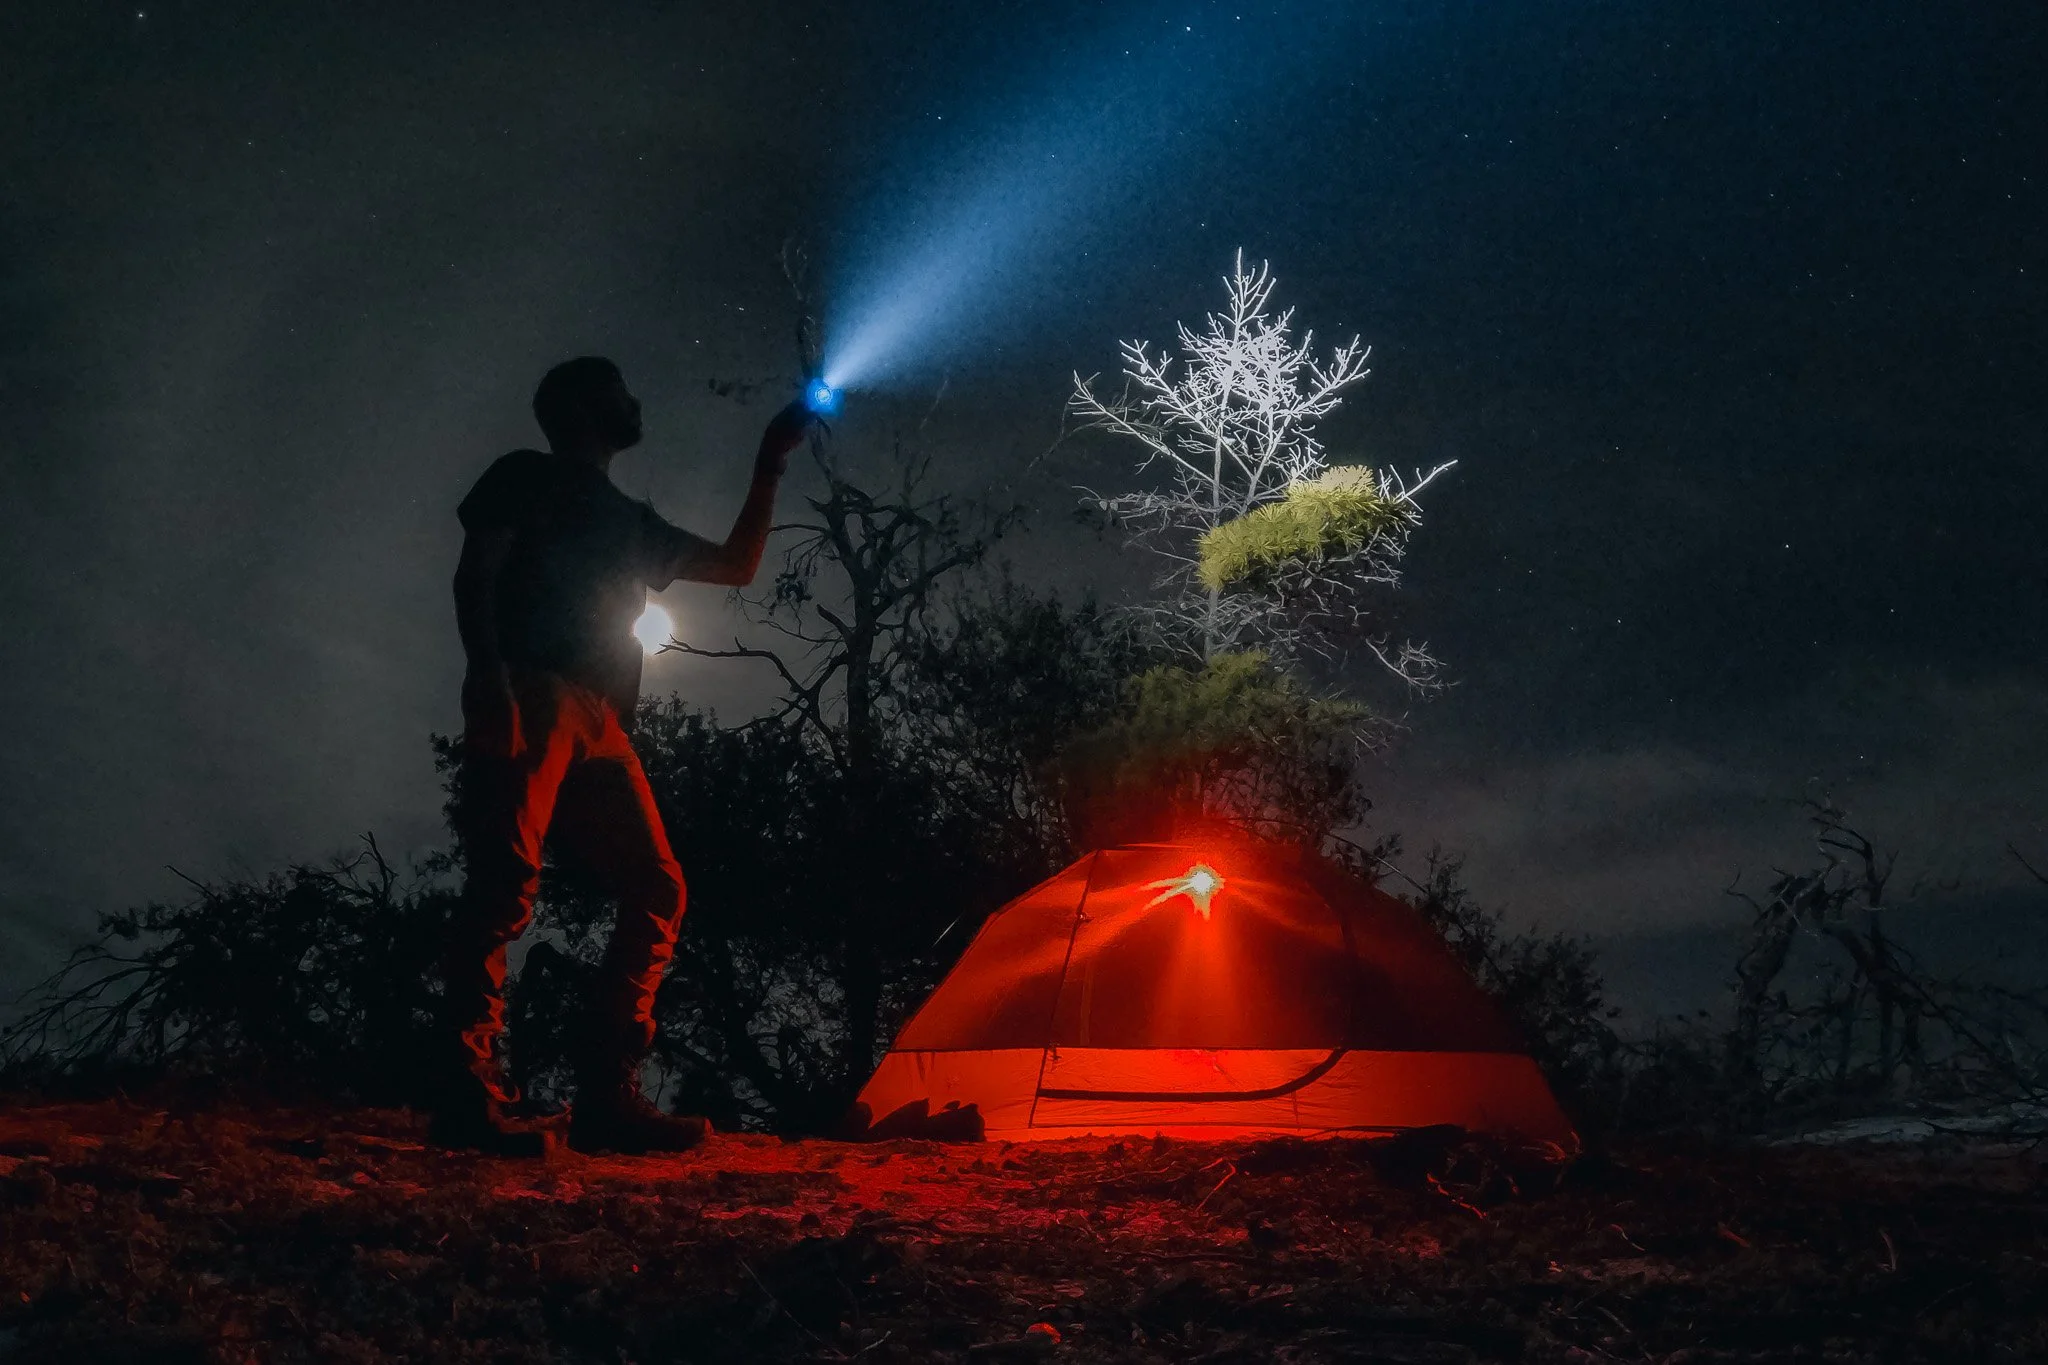
5. Illumination
Beginner Tip: Keep your headlamp inside your tent so you can easily find it during the night.
Once the sun goes down, your campsite can become surprisingly dark. Every camper should carry a dependable light source.
A headlamp is one of the most useful pieces of camping gear because it keeps your hands free while cooking, setting up camp, or walking to the restroom. Bring extra batteries or a fully charged rechargeable light just in case.
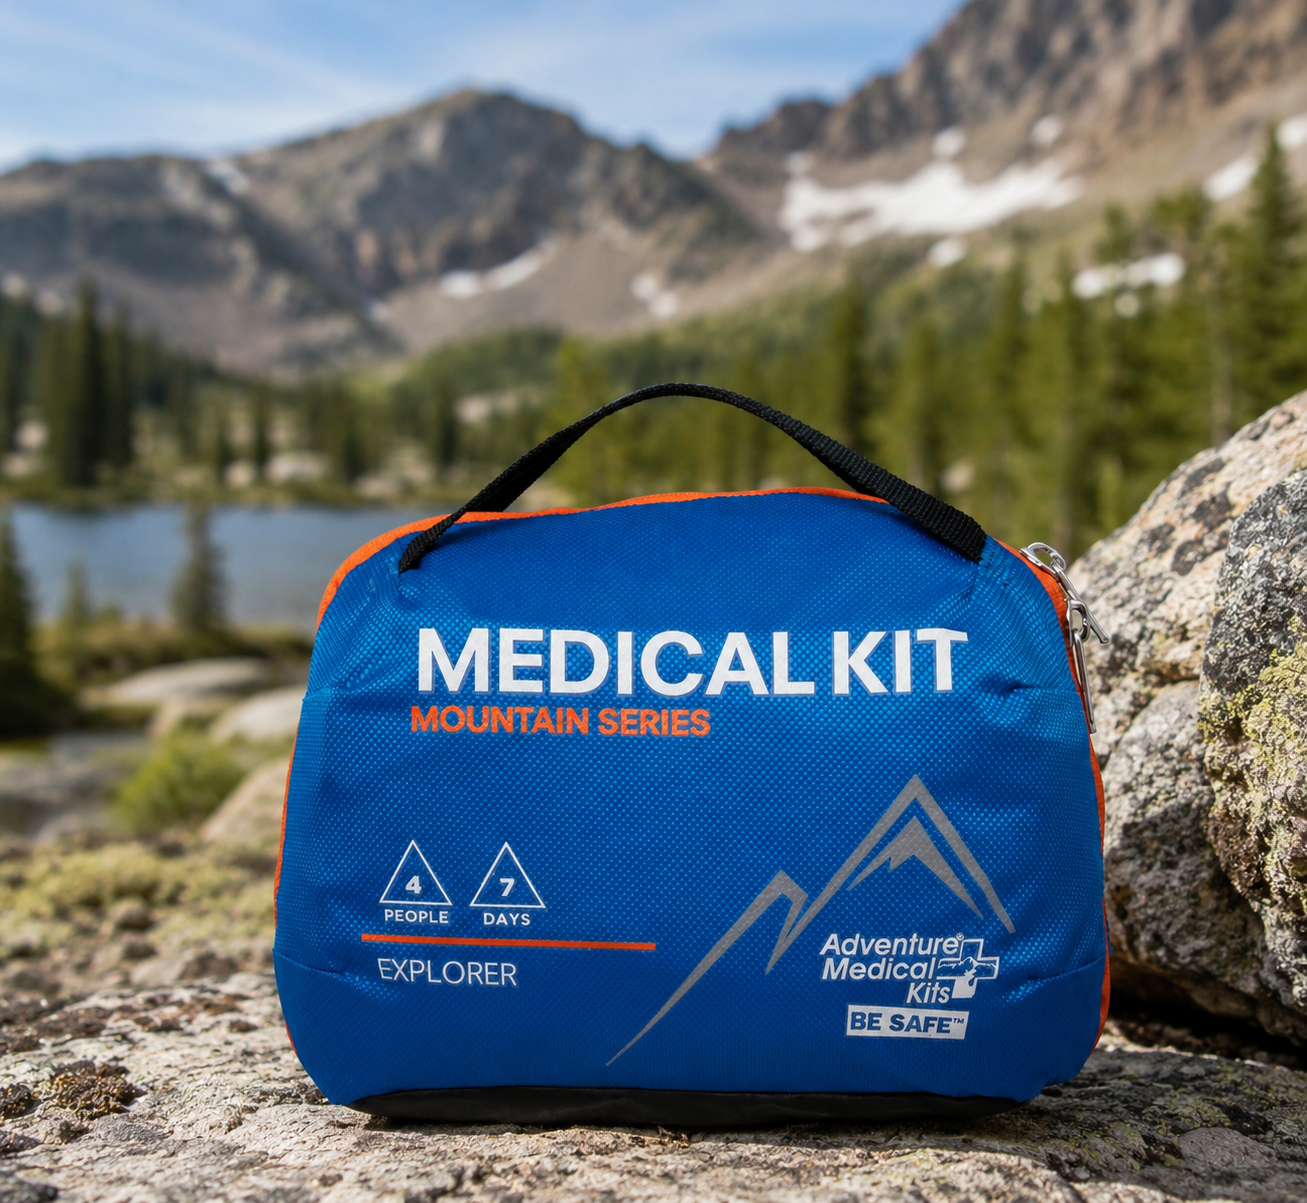
6. First Aid
Beginner Tip: Review basic first aid skills before your trip. You'll be more confident if an emergency arises.
Minor injuries such as blisters, scrapes, cuts, or insect bites are common while camping. A basic first aid kit helps you handle small problems before they become bigger ones.
Your kit should include bandages, antiseptic wipes, gauze, medical tape, tweezers, pain relievers, and any personal medications you require. Just as important as carrying the kit is knowing how to use it.
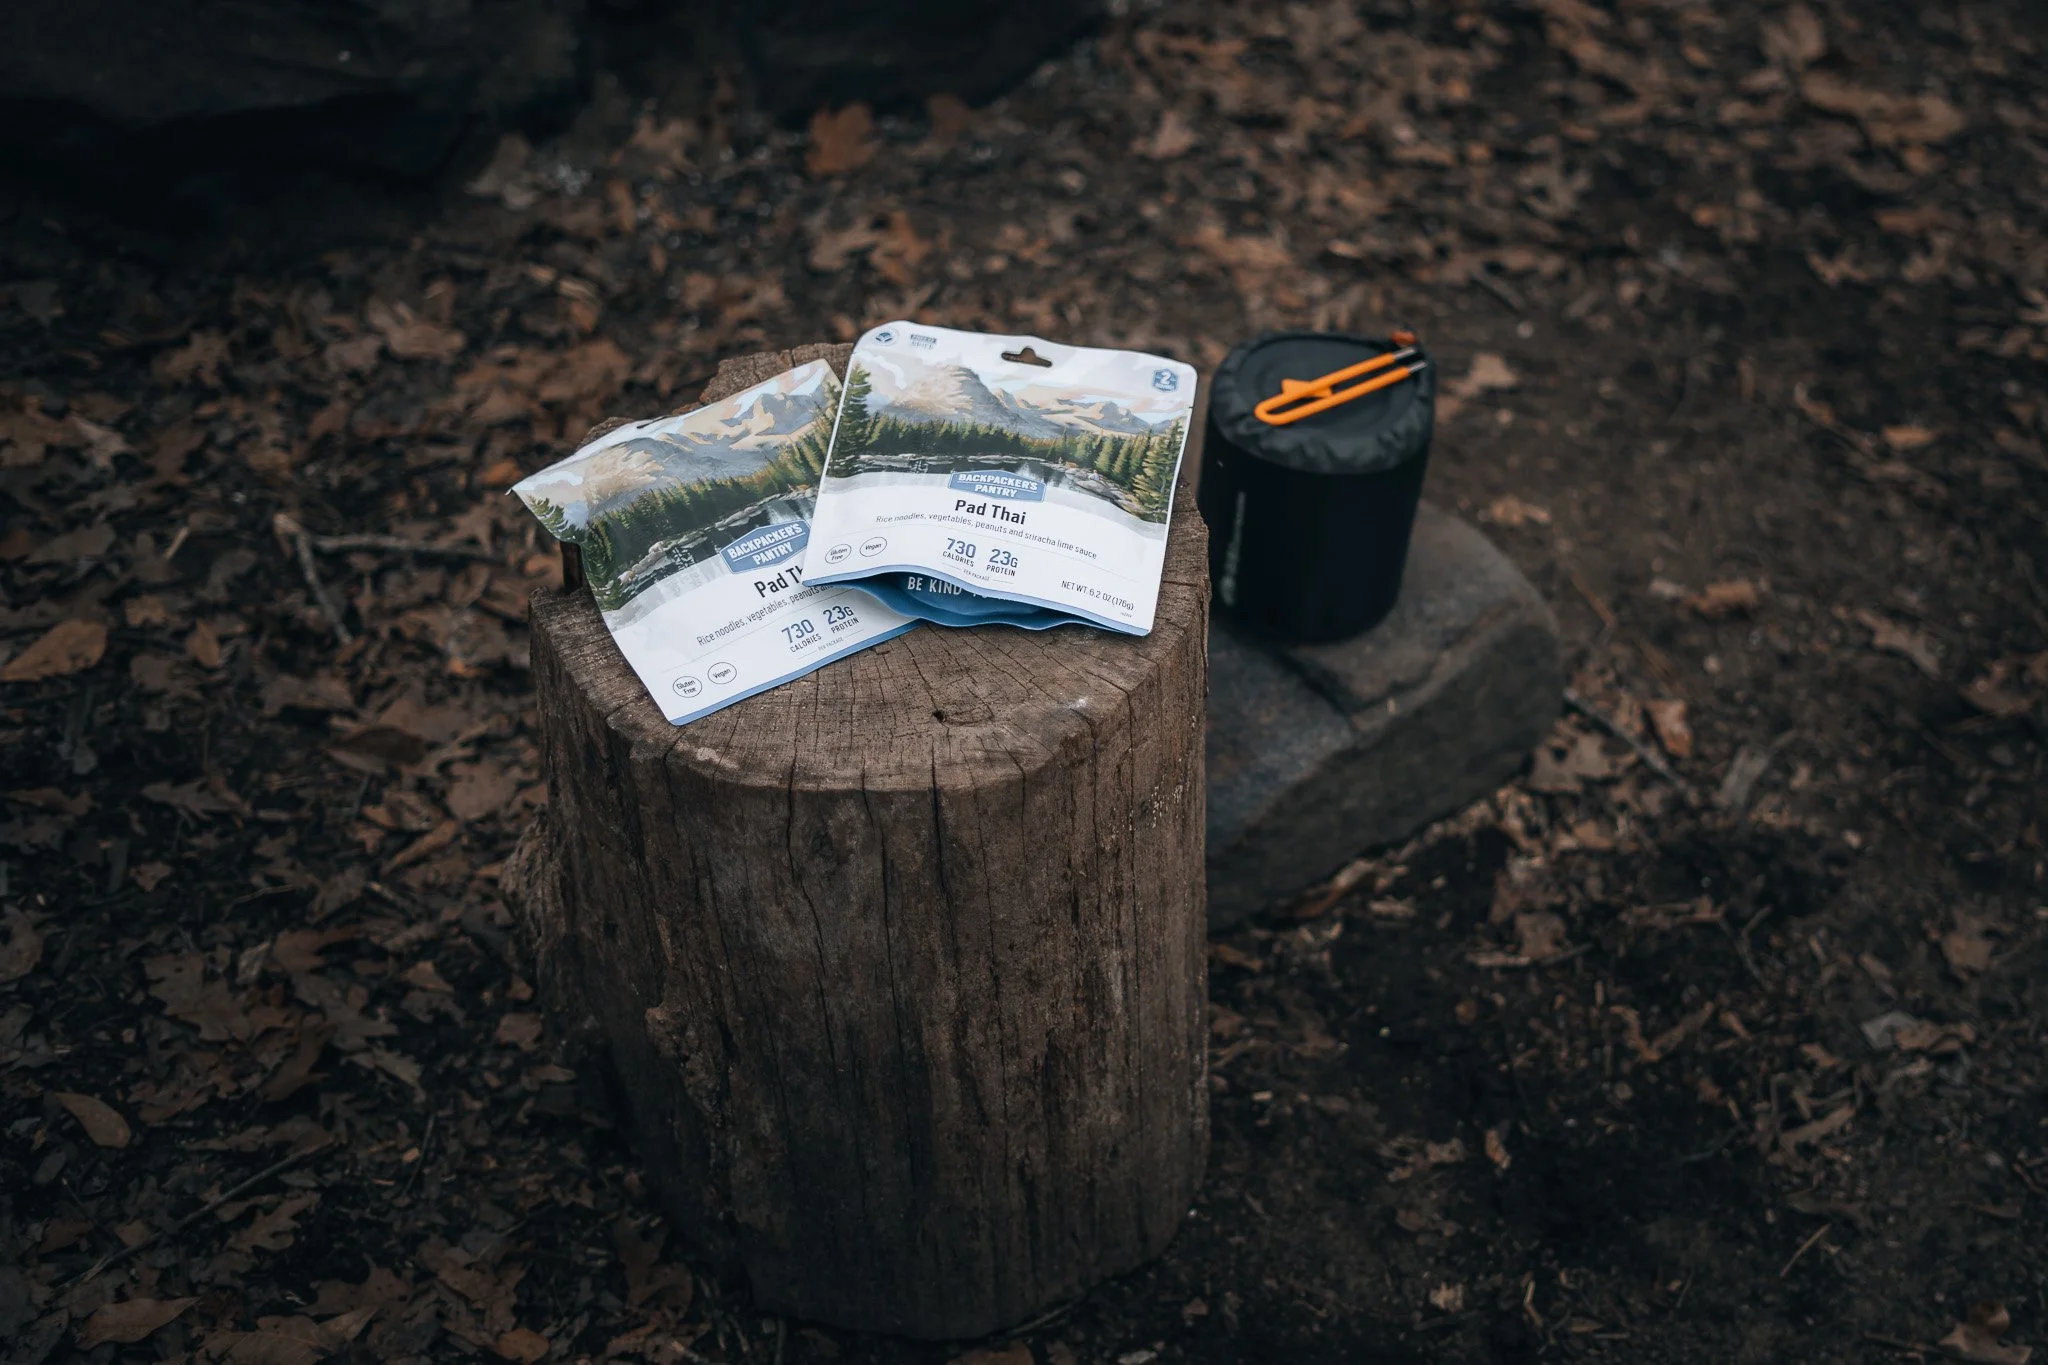
7. Nutrition
Beginner Tip: Plan your meals before leaving home to avoid overpacking or forgetting essential ingredients.
Outdoor activities burn more calories than many people expect. Having enough food helps maintain your energy throughout the day.
Choose meals that are simple to prepare and pack high-energy snacks like trail mix, granola bars, jerky, or dried fruit. Even if you're only planning a short trip, bring extra food in case weather or unexpected delays keep you outdoors longer than planned.
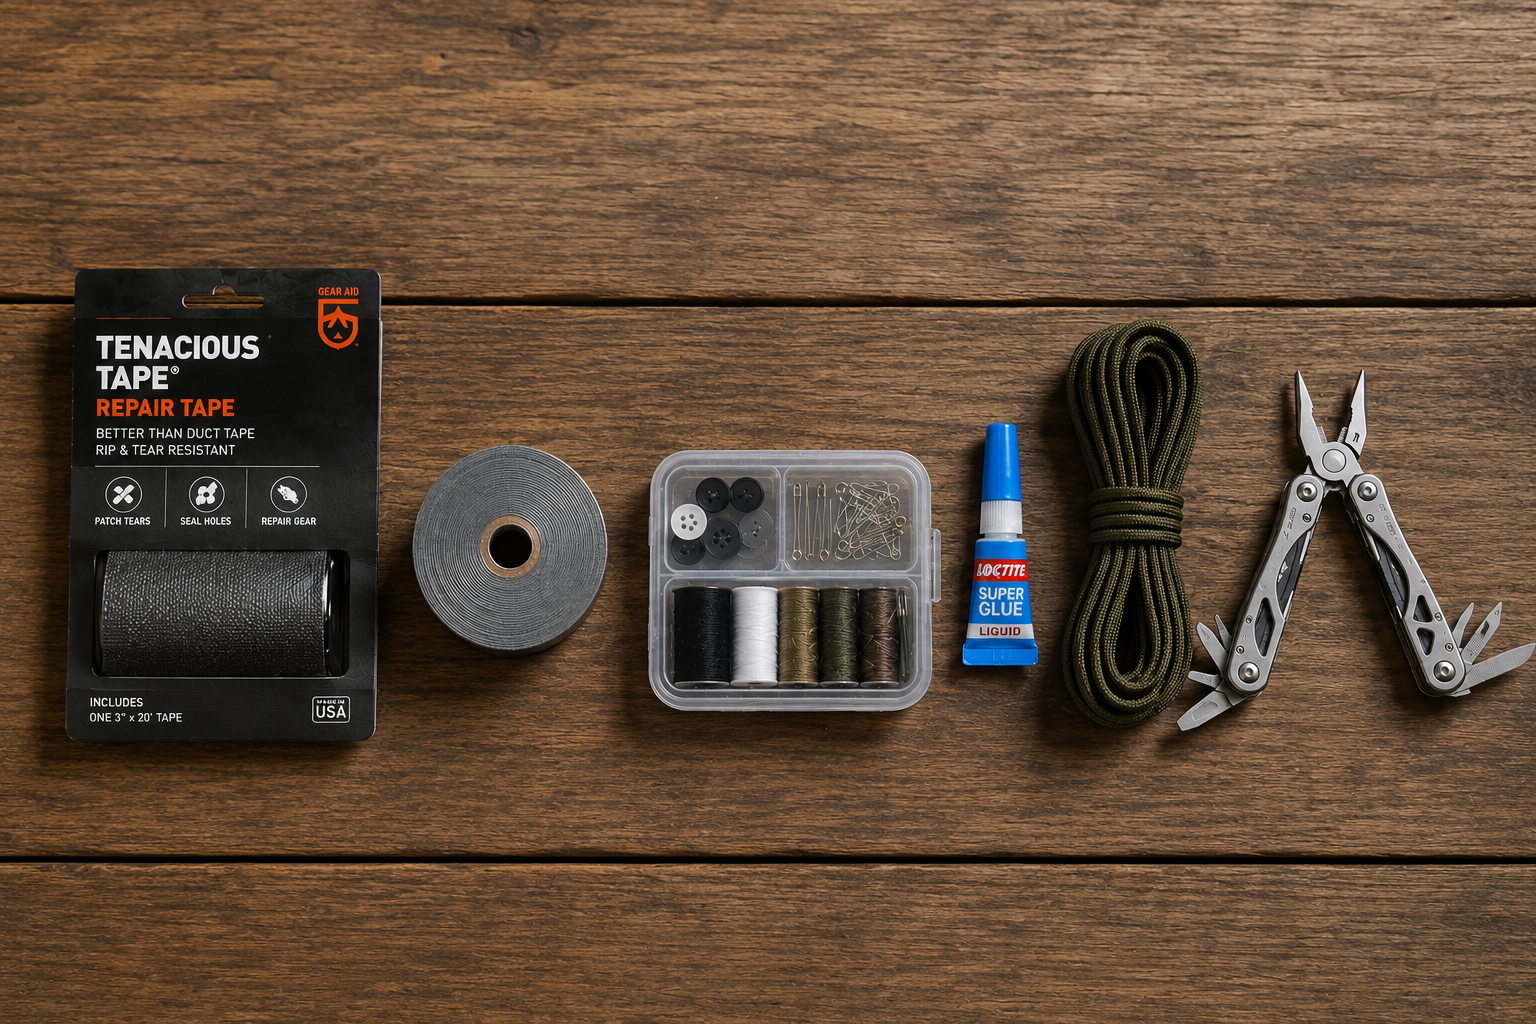
8. Repair Kit and Tools
Beginner Tip: Keep your repair supplies together in a small waterproof bag for easy access.
Gear occasionally breaks, but a few simple tools can prevent a minor issue from ending your trip early.
A multi-tool or pocket knife is useful for countless campsite tasks, while duct tape, zip ties, extra tent stakes, and repair patches can help fix damaged equipment. Having a small repair kit means you're ready for unexpected problems.
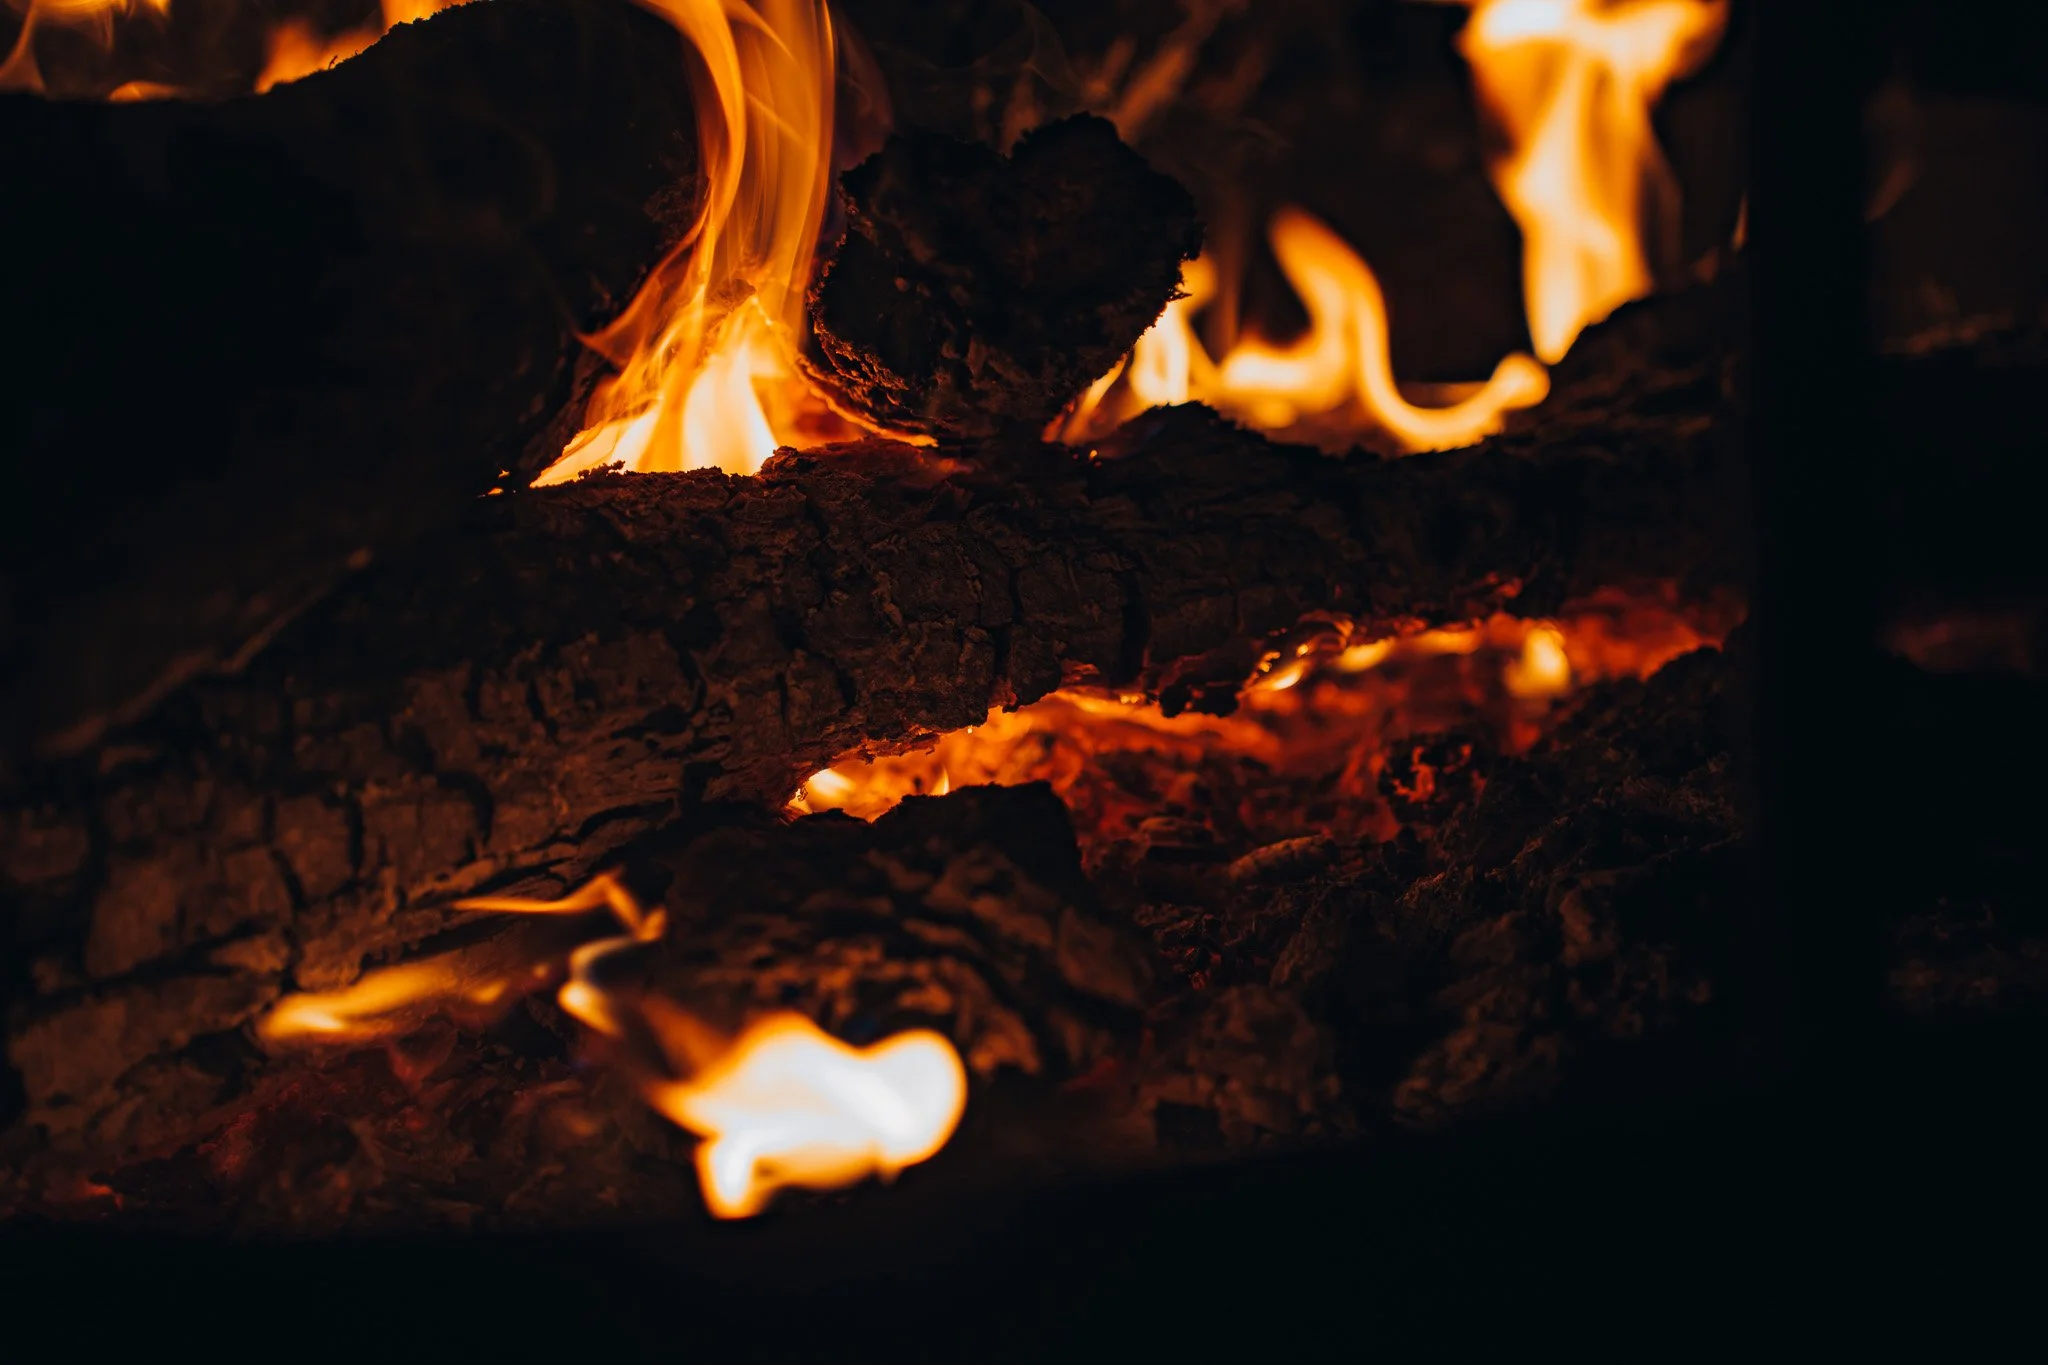
9. Fire
Beginner Tip: Learn how to safely build and extinguish a campfire before your first camping trip.
Fire provides warmth, allows you to cook meals, and can boost morale after a long day outdoors. However, it should always be used responsibly.
Carry waterproof matches, a lighter, and a fire starter such as fire cubes or dryer lint stored in a waterproof container. Before lighting any fire, check local fire restrictions and campground regulations.
Remember to completely extinguish every campfire before leaving or going to bed.
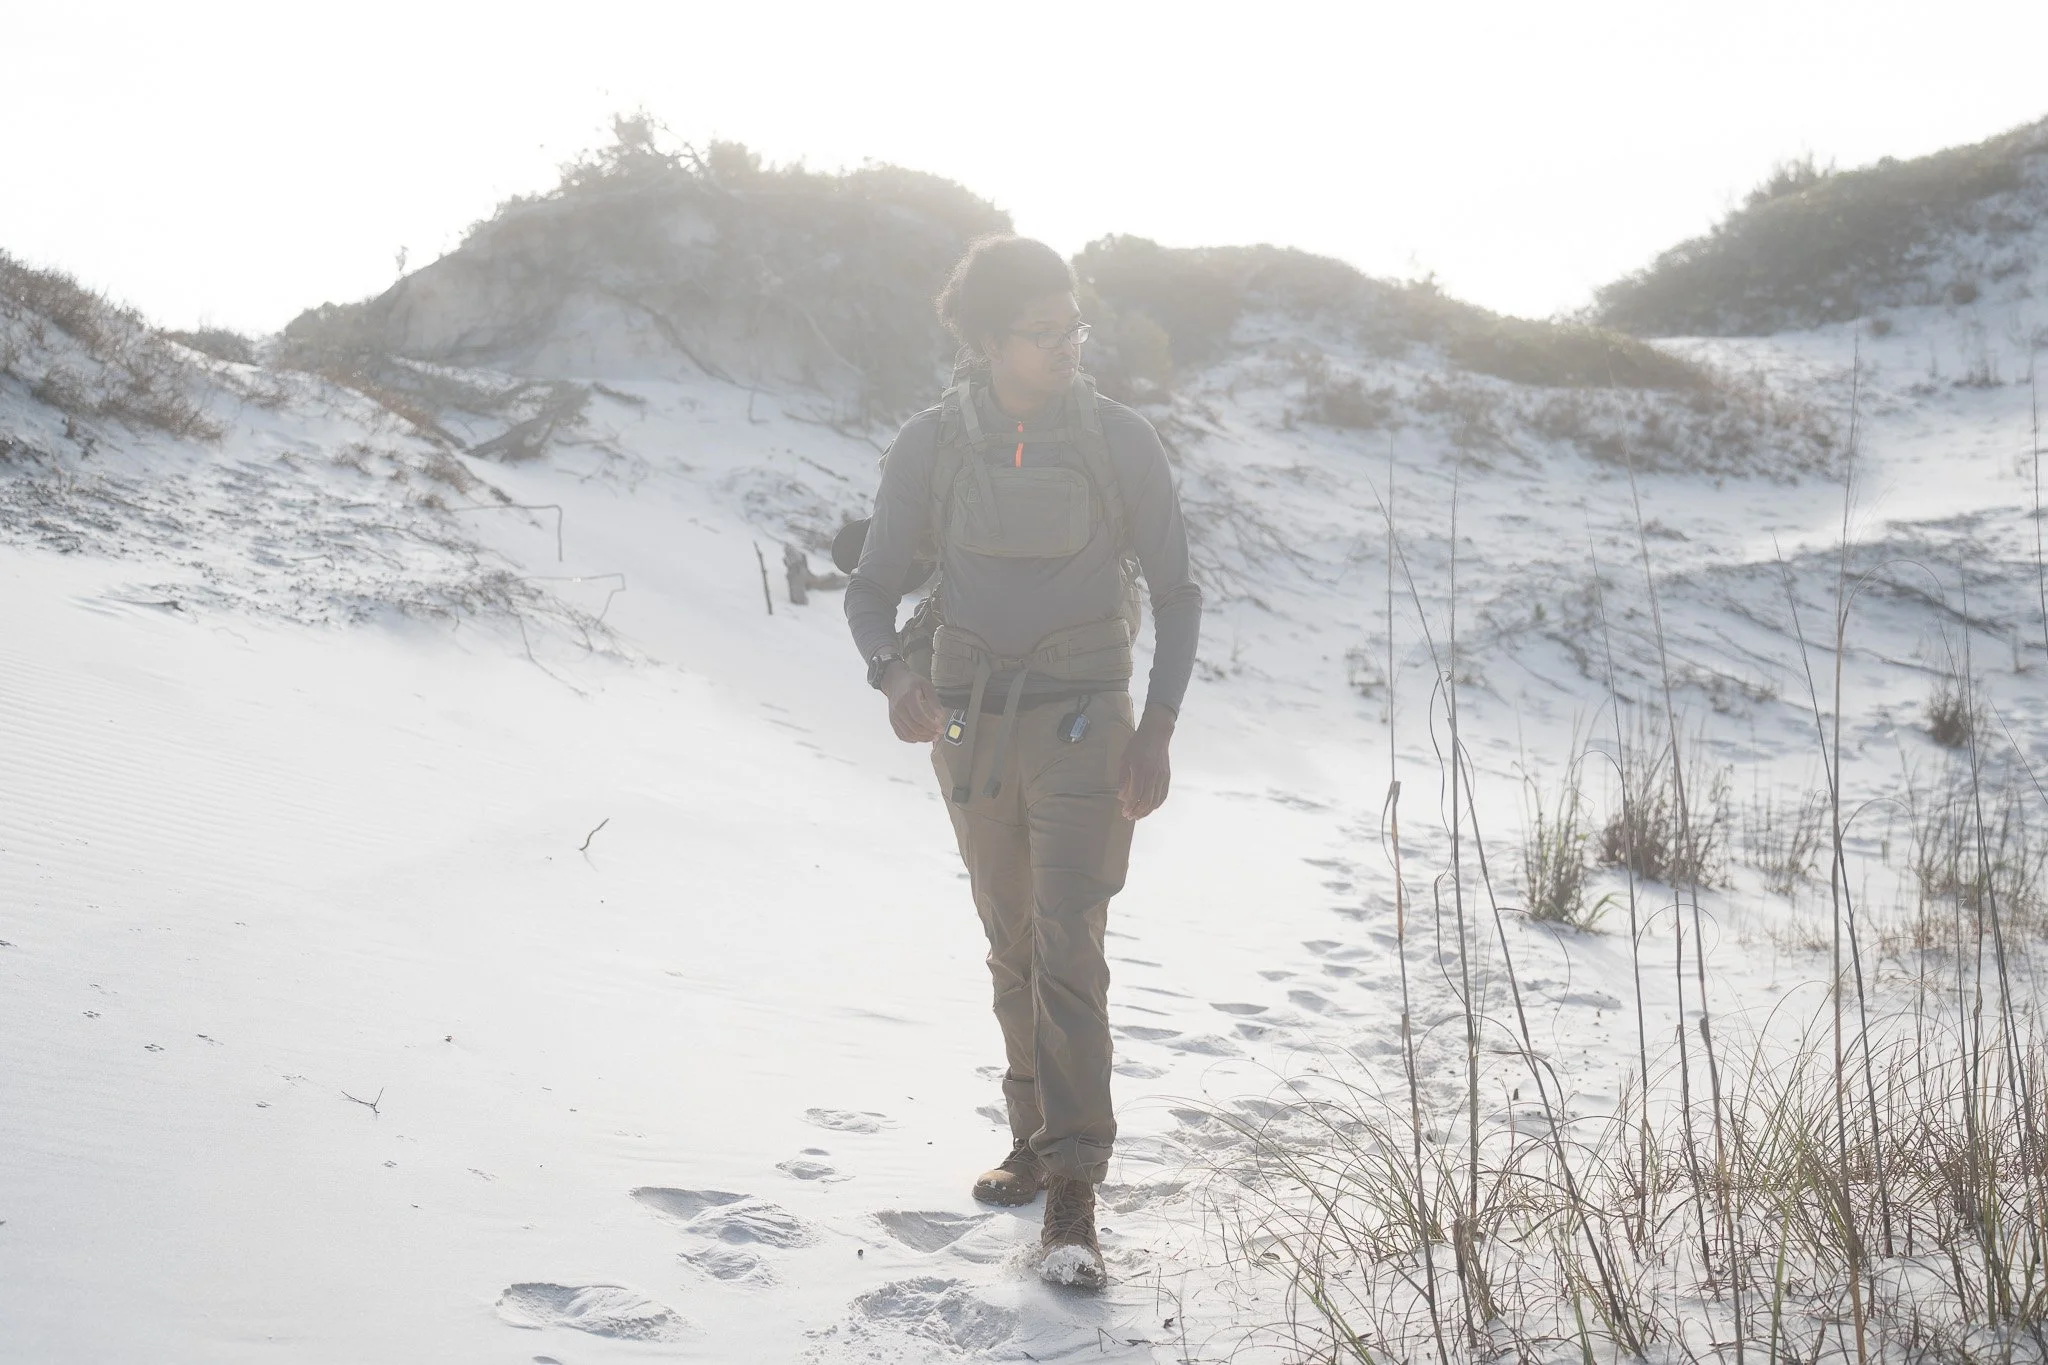
10. Sun Protection
Beginner Tip: Reapply sunscreen throughout the day, especially after hiking or sweating.
Many new campers underestimate how much time they'll spend exposed to the sun. Even on cloudy days, ultraviolet rays can cause sunburn and dehydration.
Pack sunscreen with SPF 30 or higher, sunglasses, a wide-brimmed hat, and lip balm with SPF protection. Lightweight, long-sleeve clothing can also help reduce sun exposure while keeping you cool.